
Winter Morning Zine
A Small Handmade Book for a Snowy Morning

Note: If you’re reading this in your email, it may be too long to display in full. To read the entire post, click the link to open it in your browser.
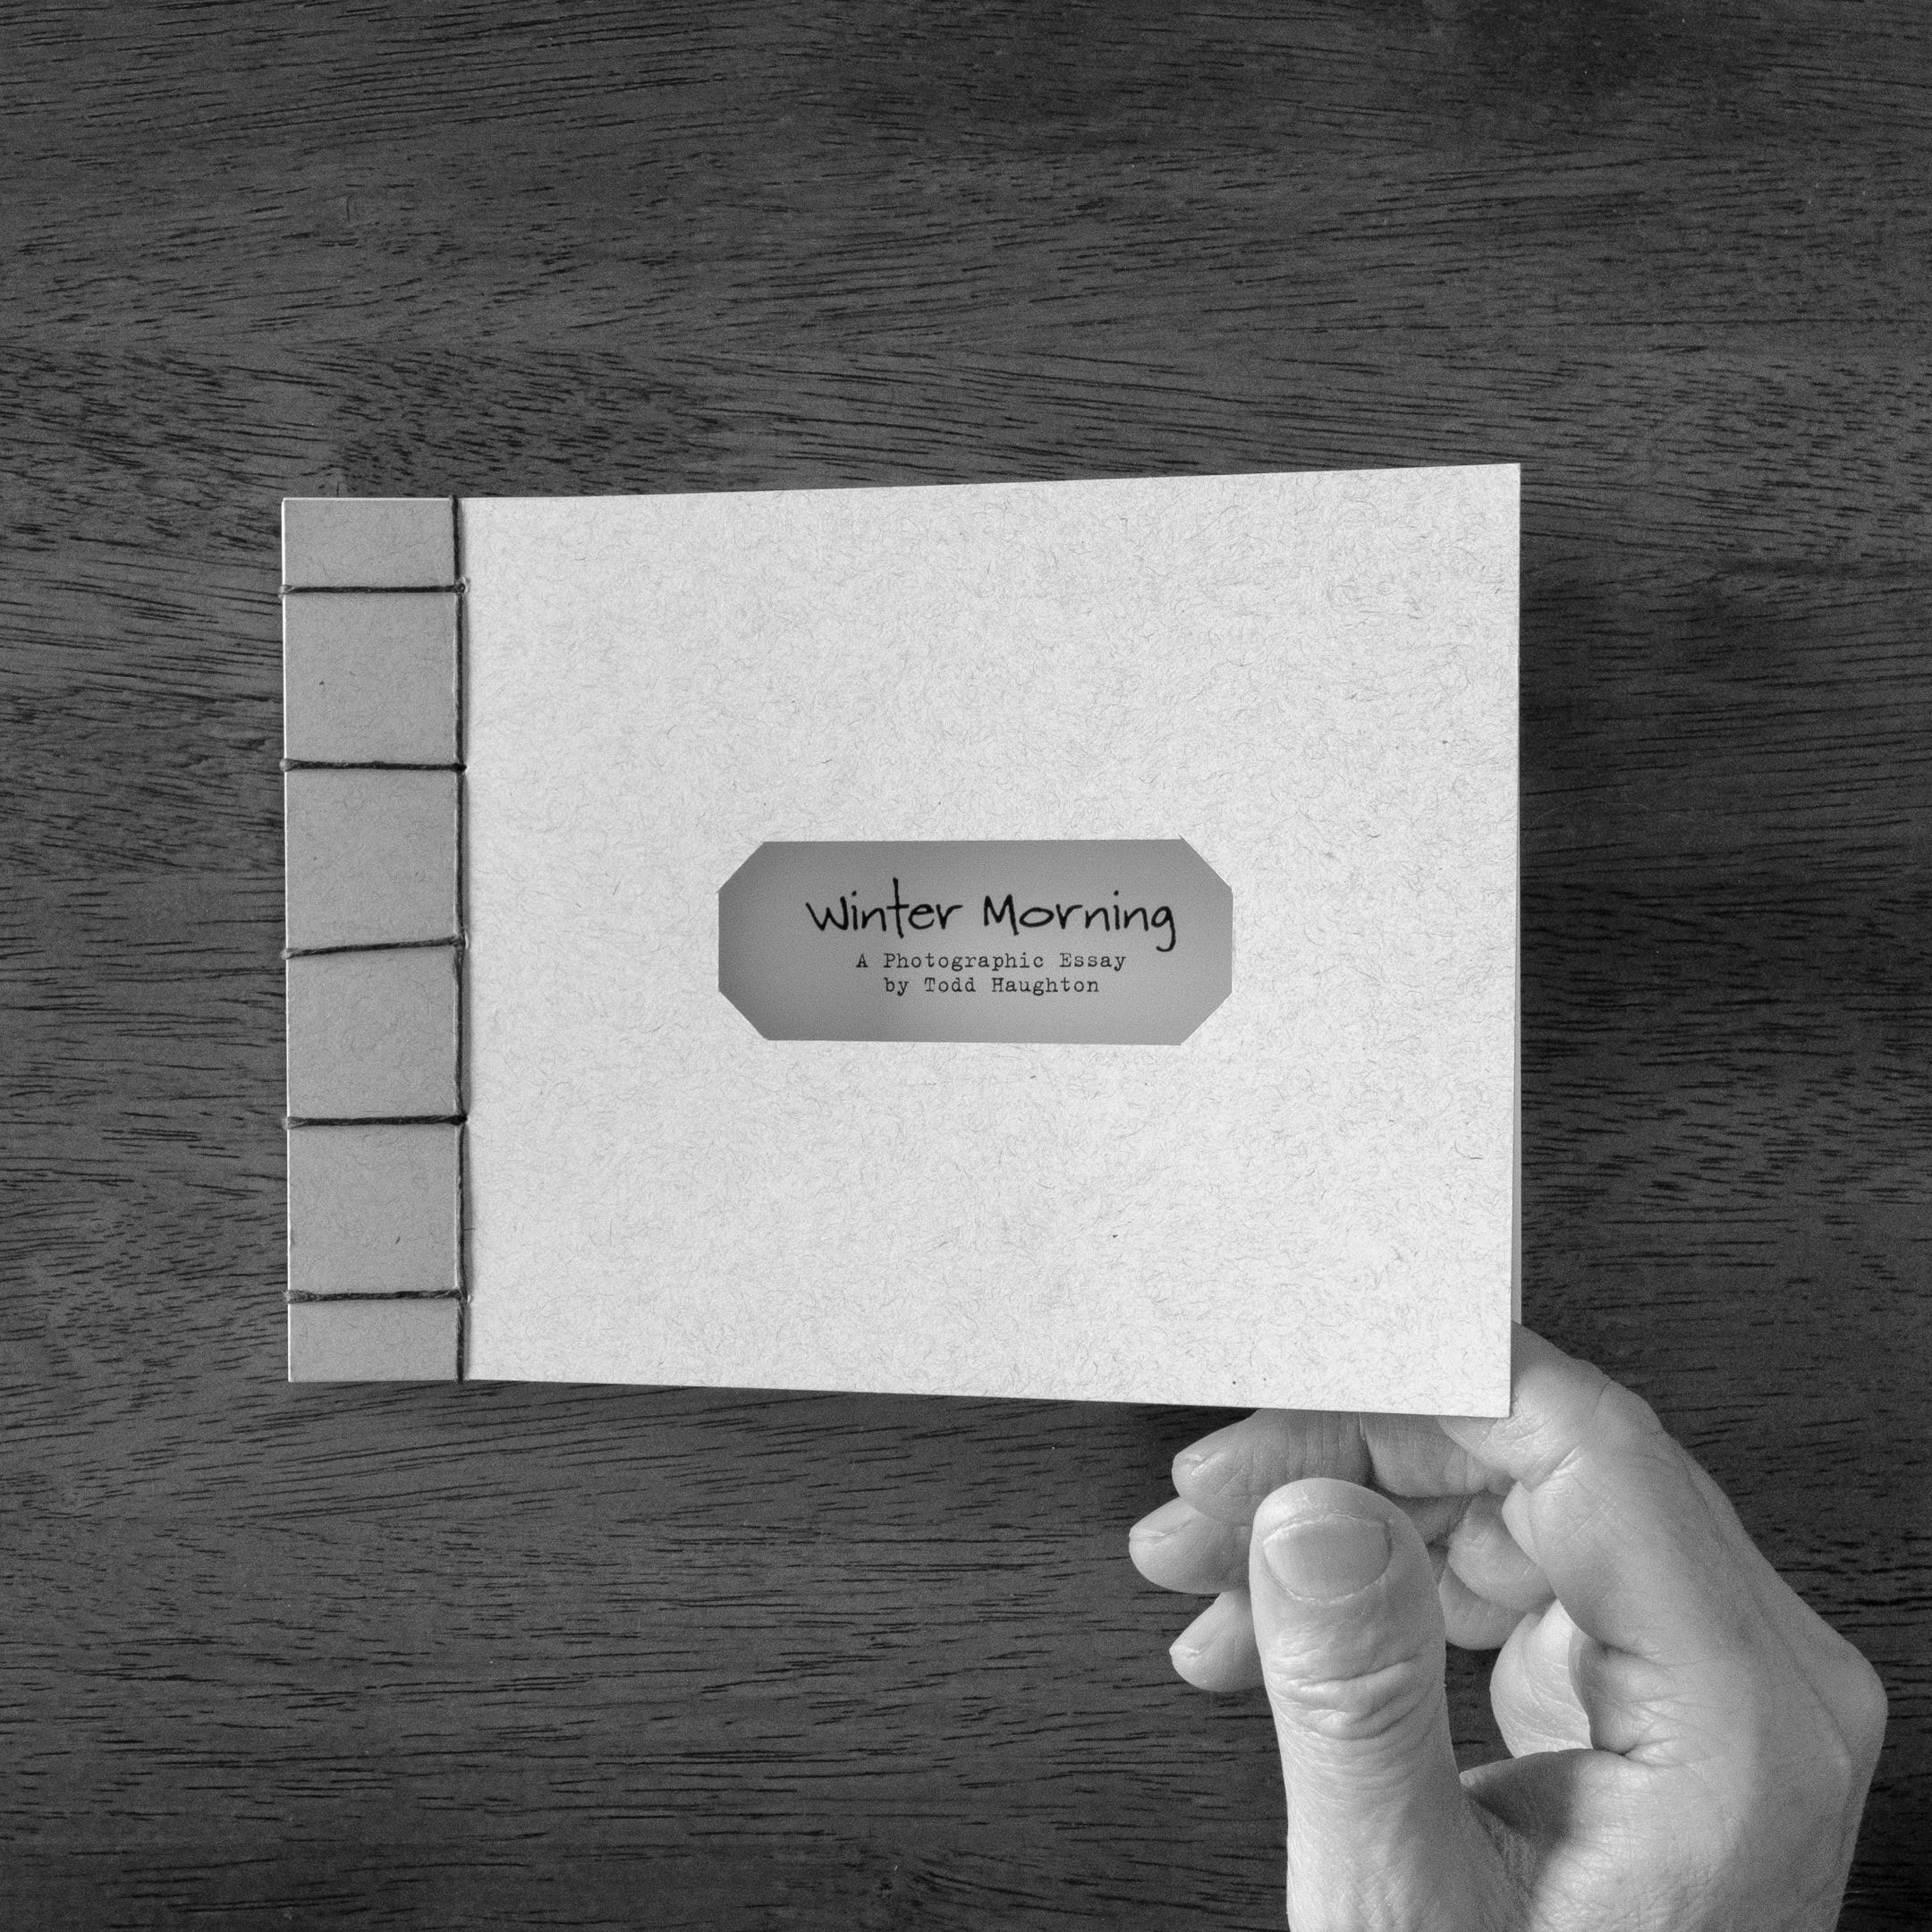
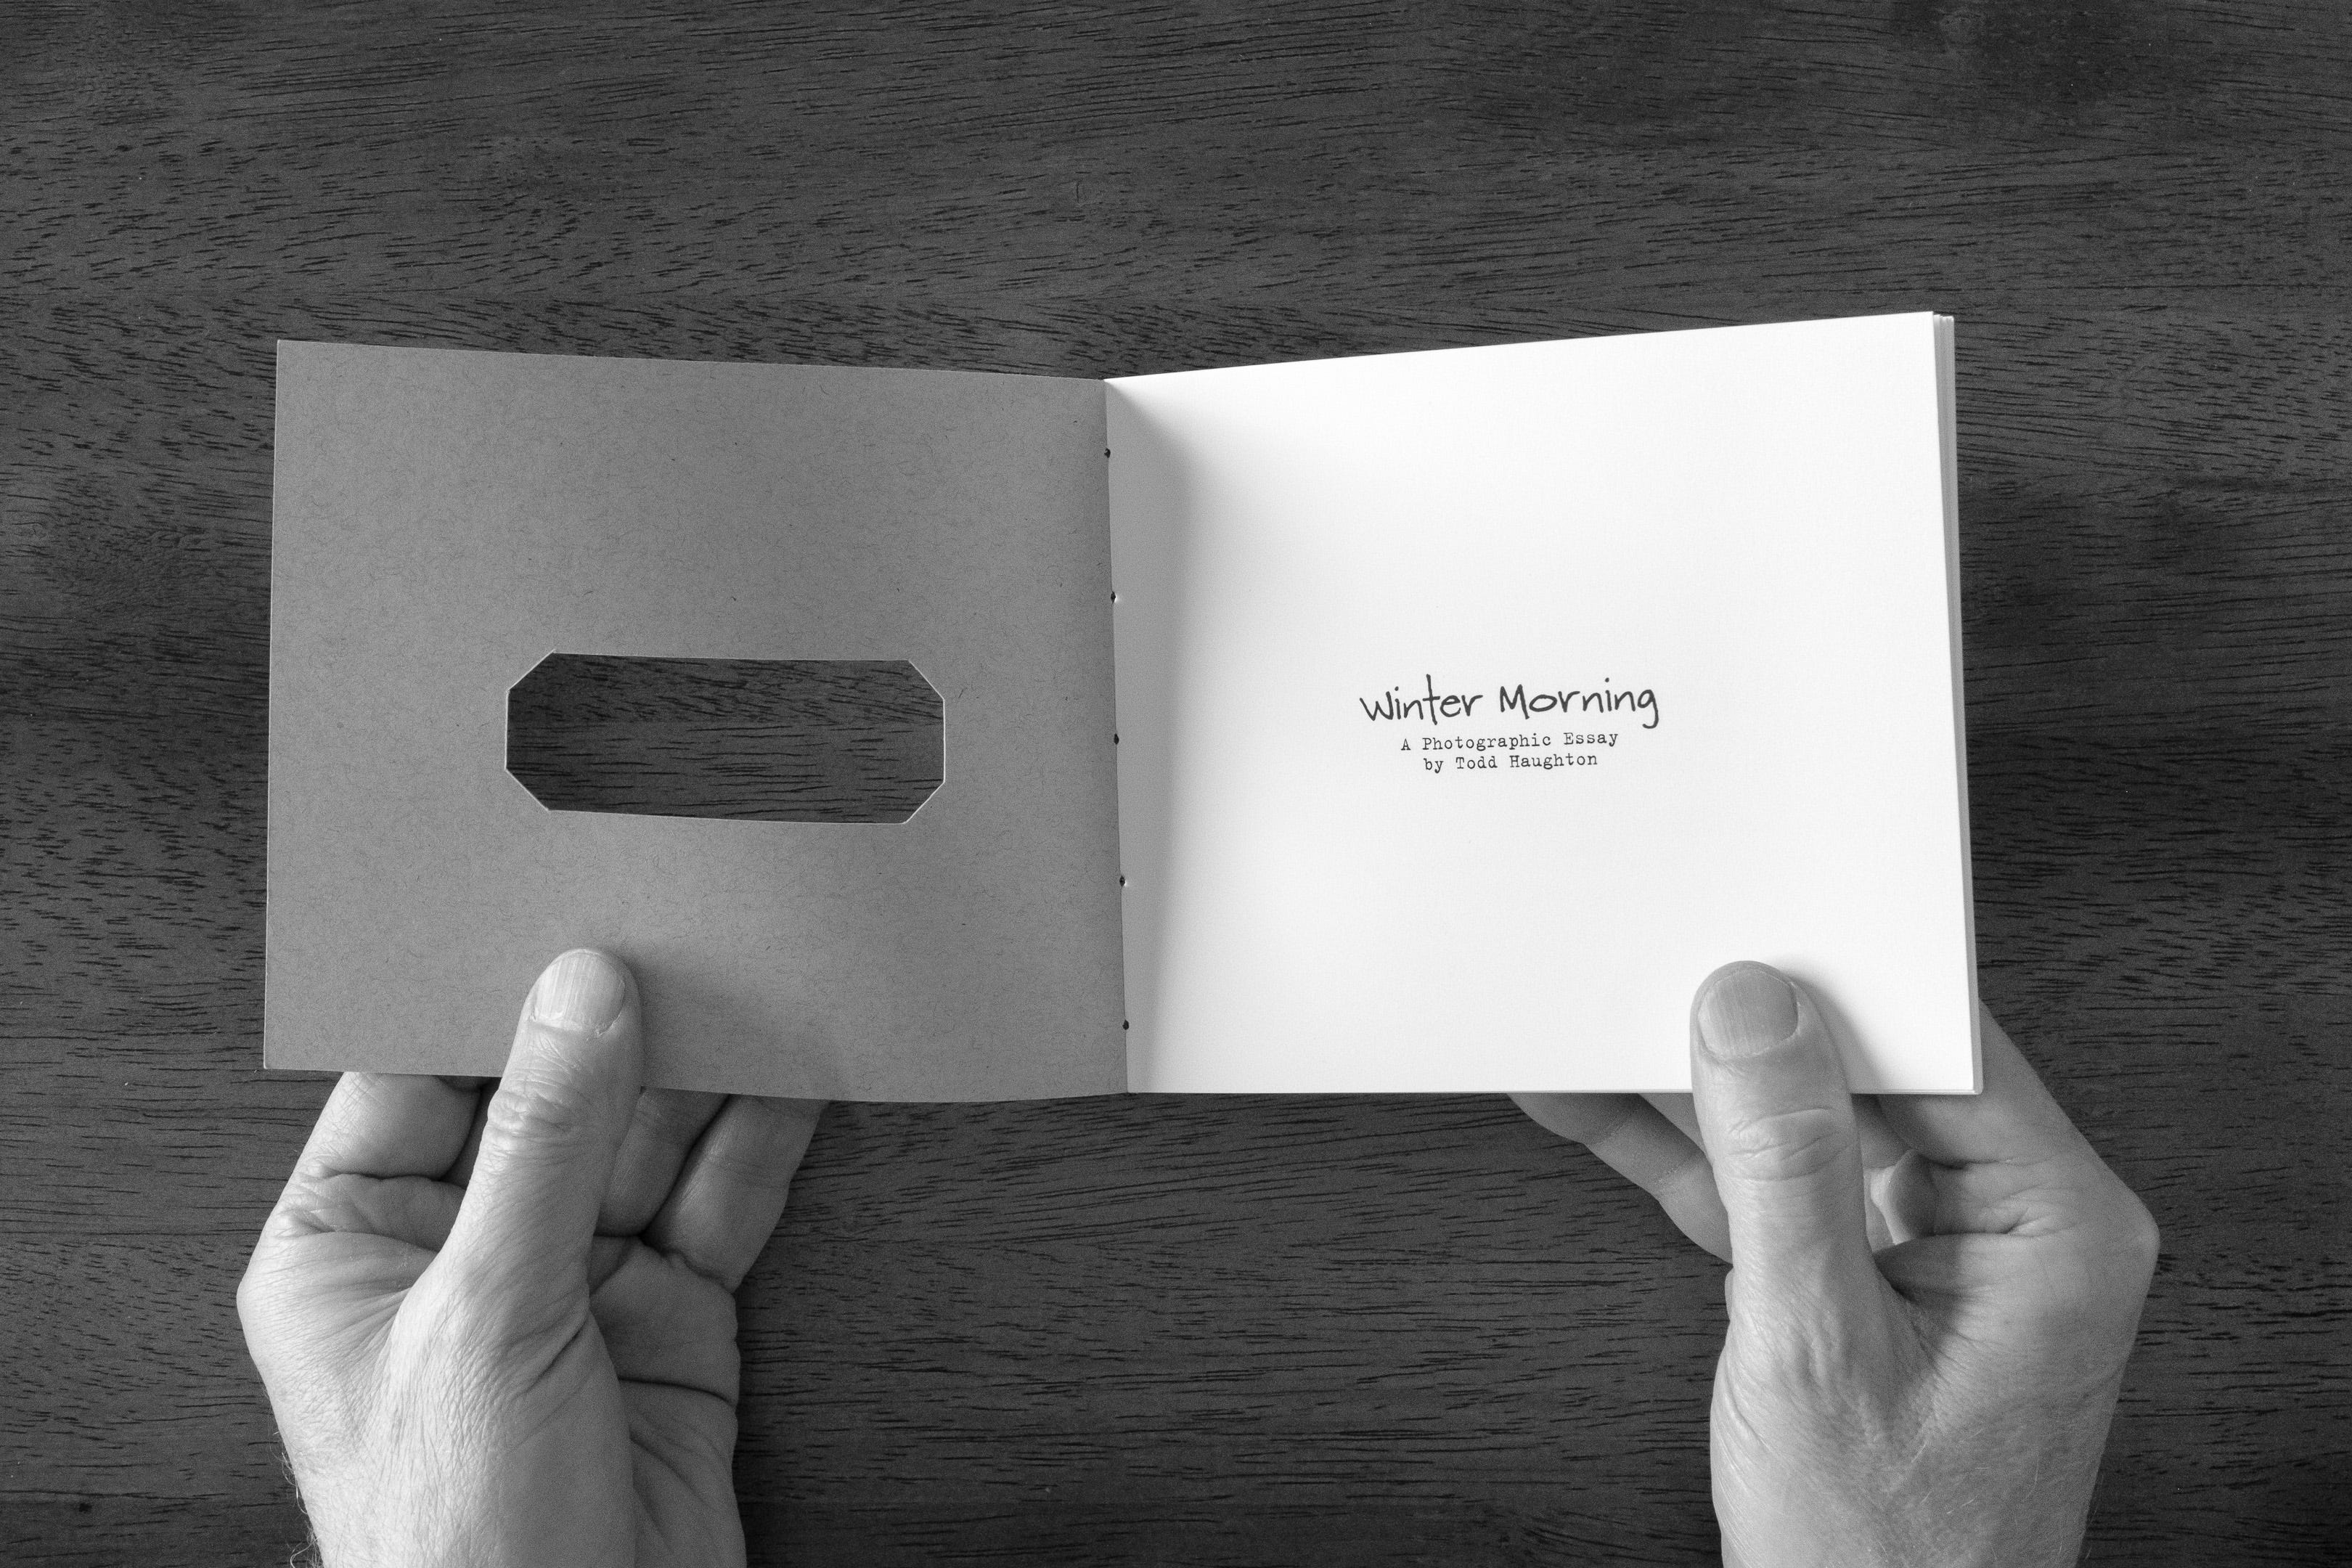
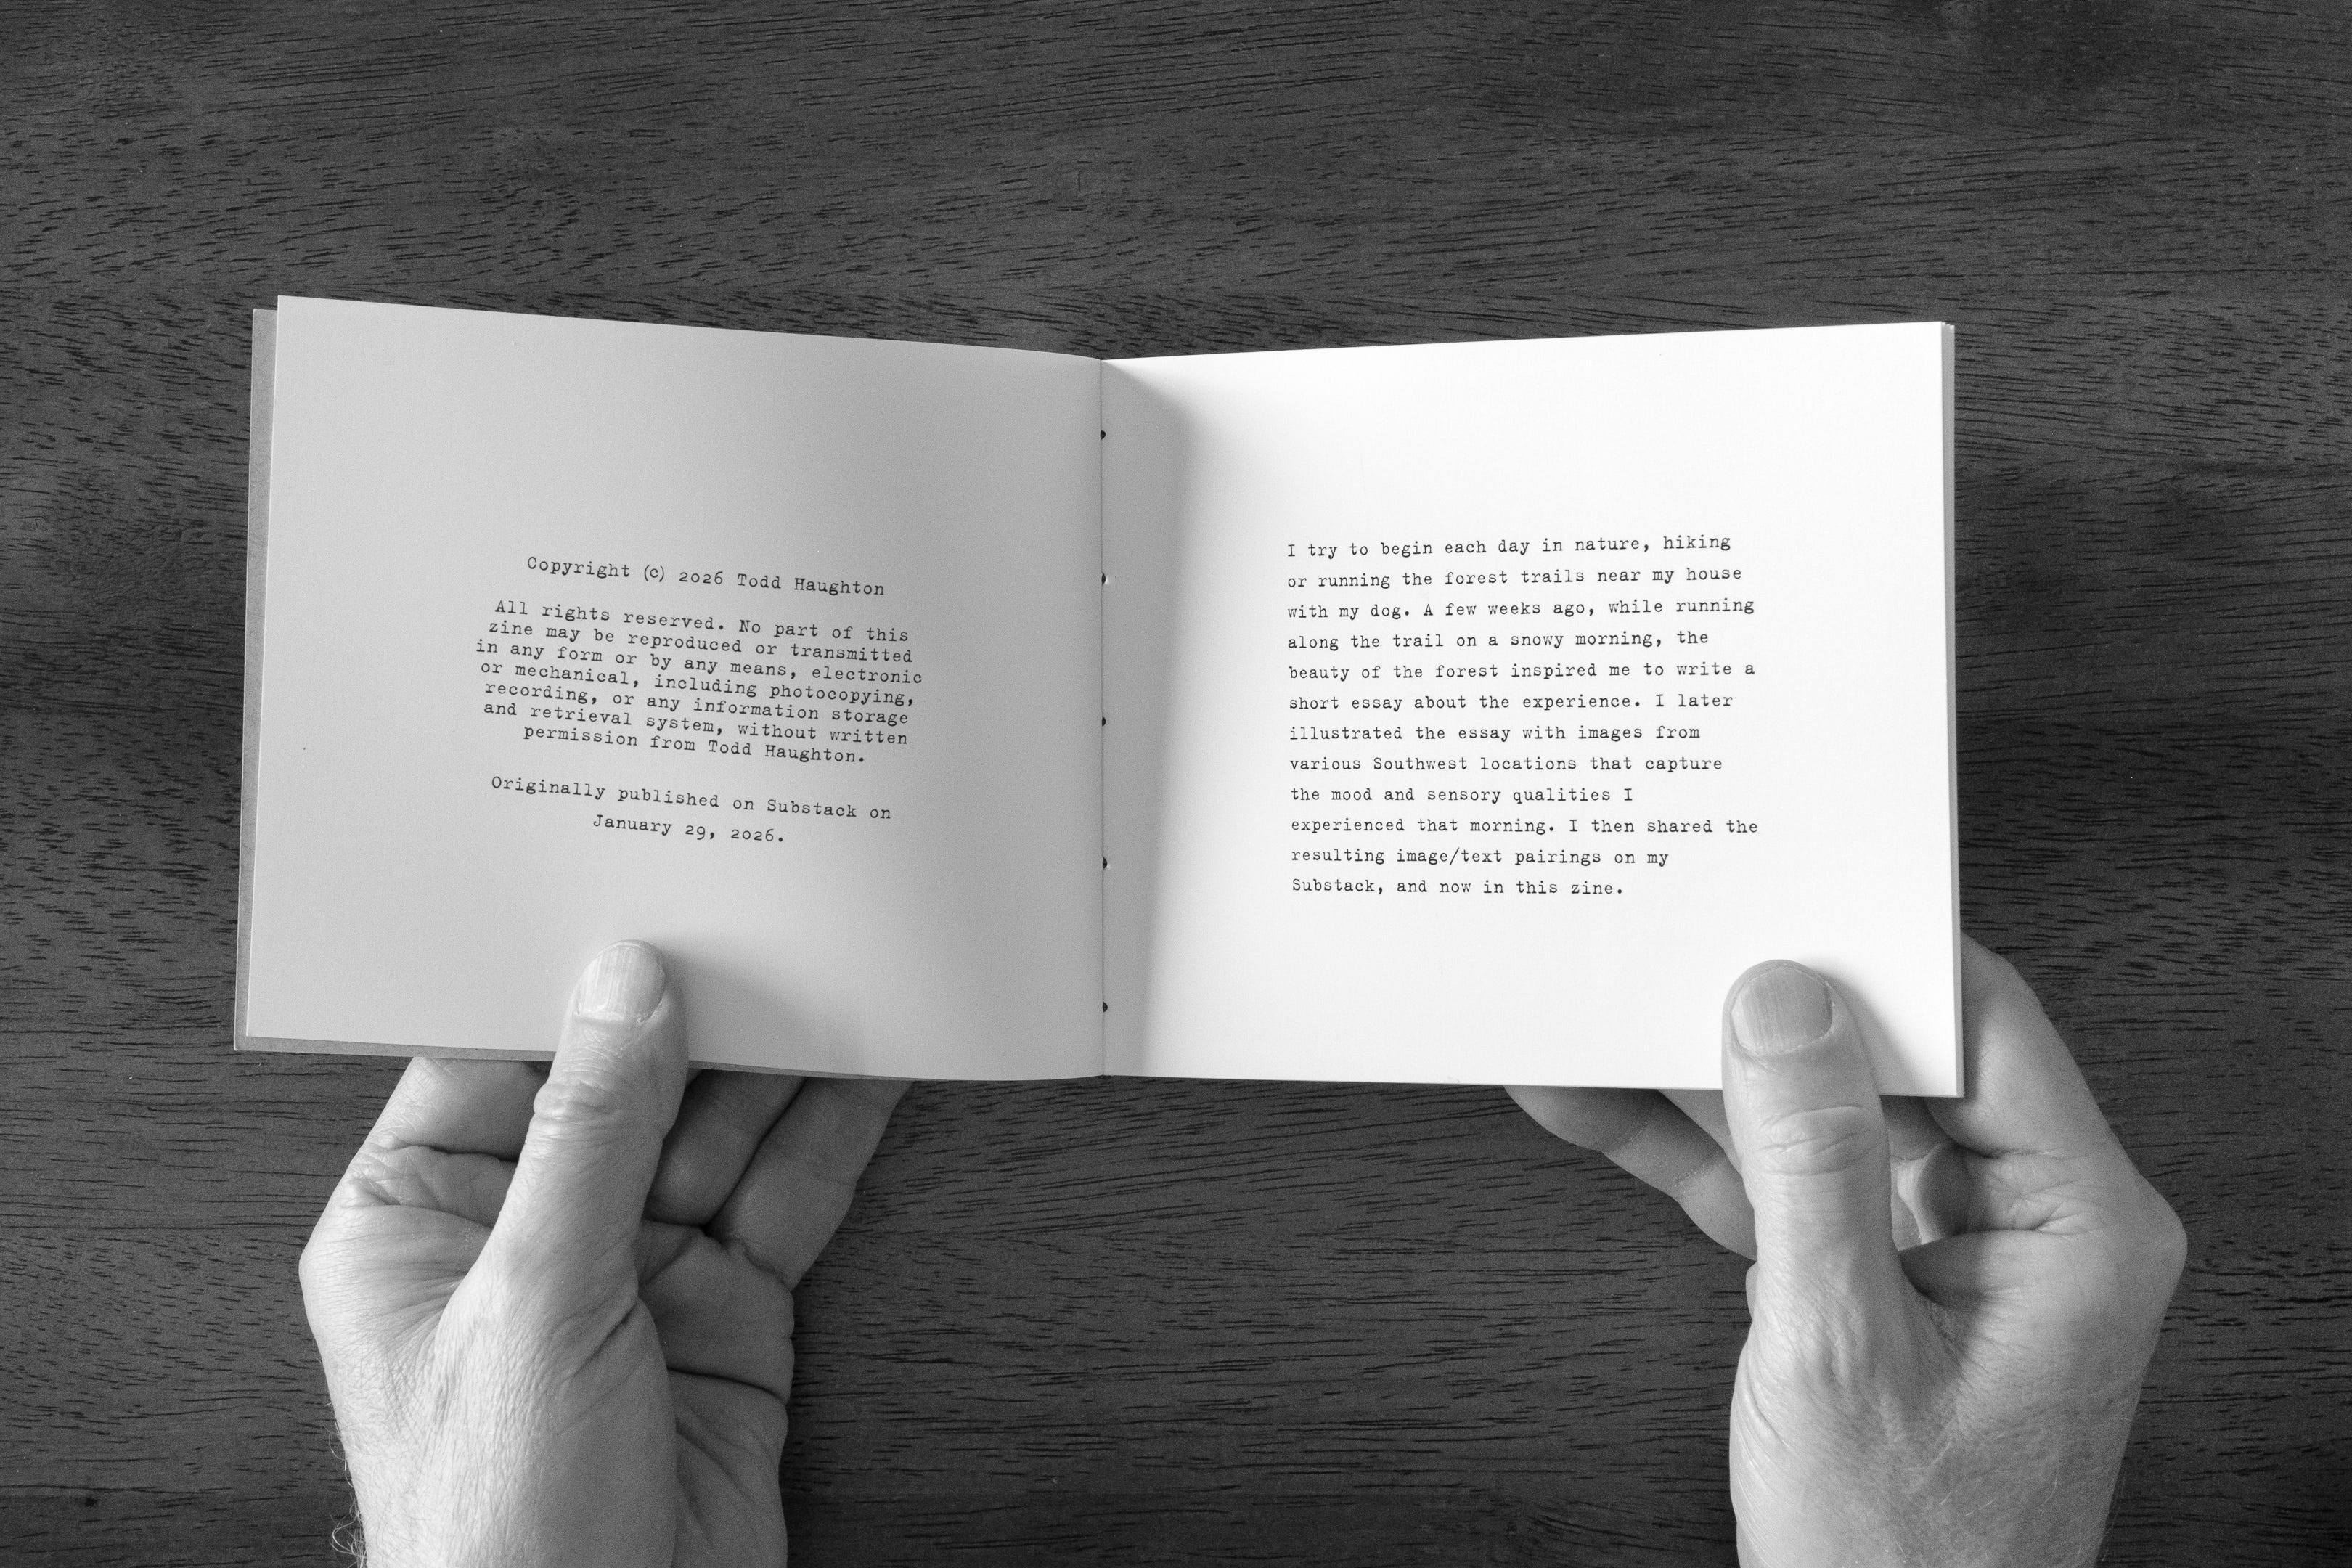
I just love hiking or running through a forest after freshly fallen snow covers the landscape. After returning home from one of these outings in early January, I wrote a short essay about my experience. I wasn't setting out to create a Substack post from that essay, but later realized it was well suited to "illustrate" each line with my photographs. So I then created my "Winter Morning" post, which you can read here:

A couple of people left comments on the post suggesting it could be turned into a zine, which I hadn't considered until then. The seed they planted quickly took root, and I immediately started thinking about how I might design and construct a zine from that post. Today I'm sharing the results with you.
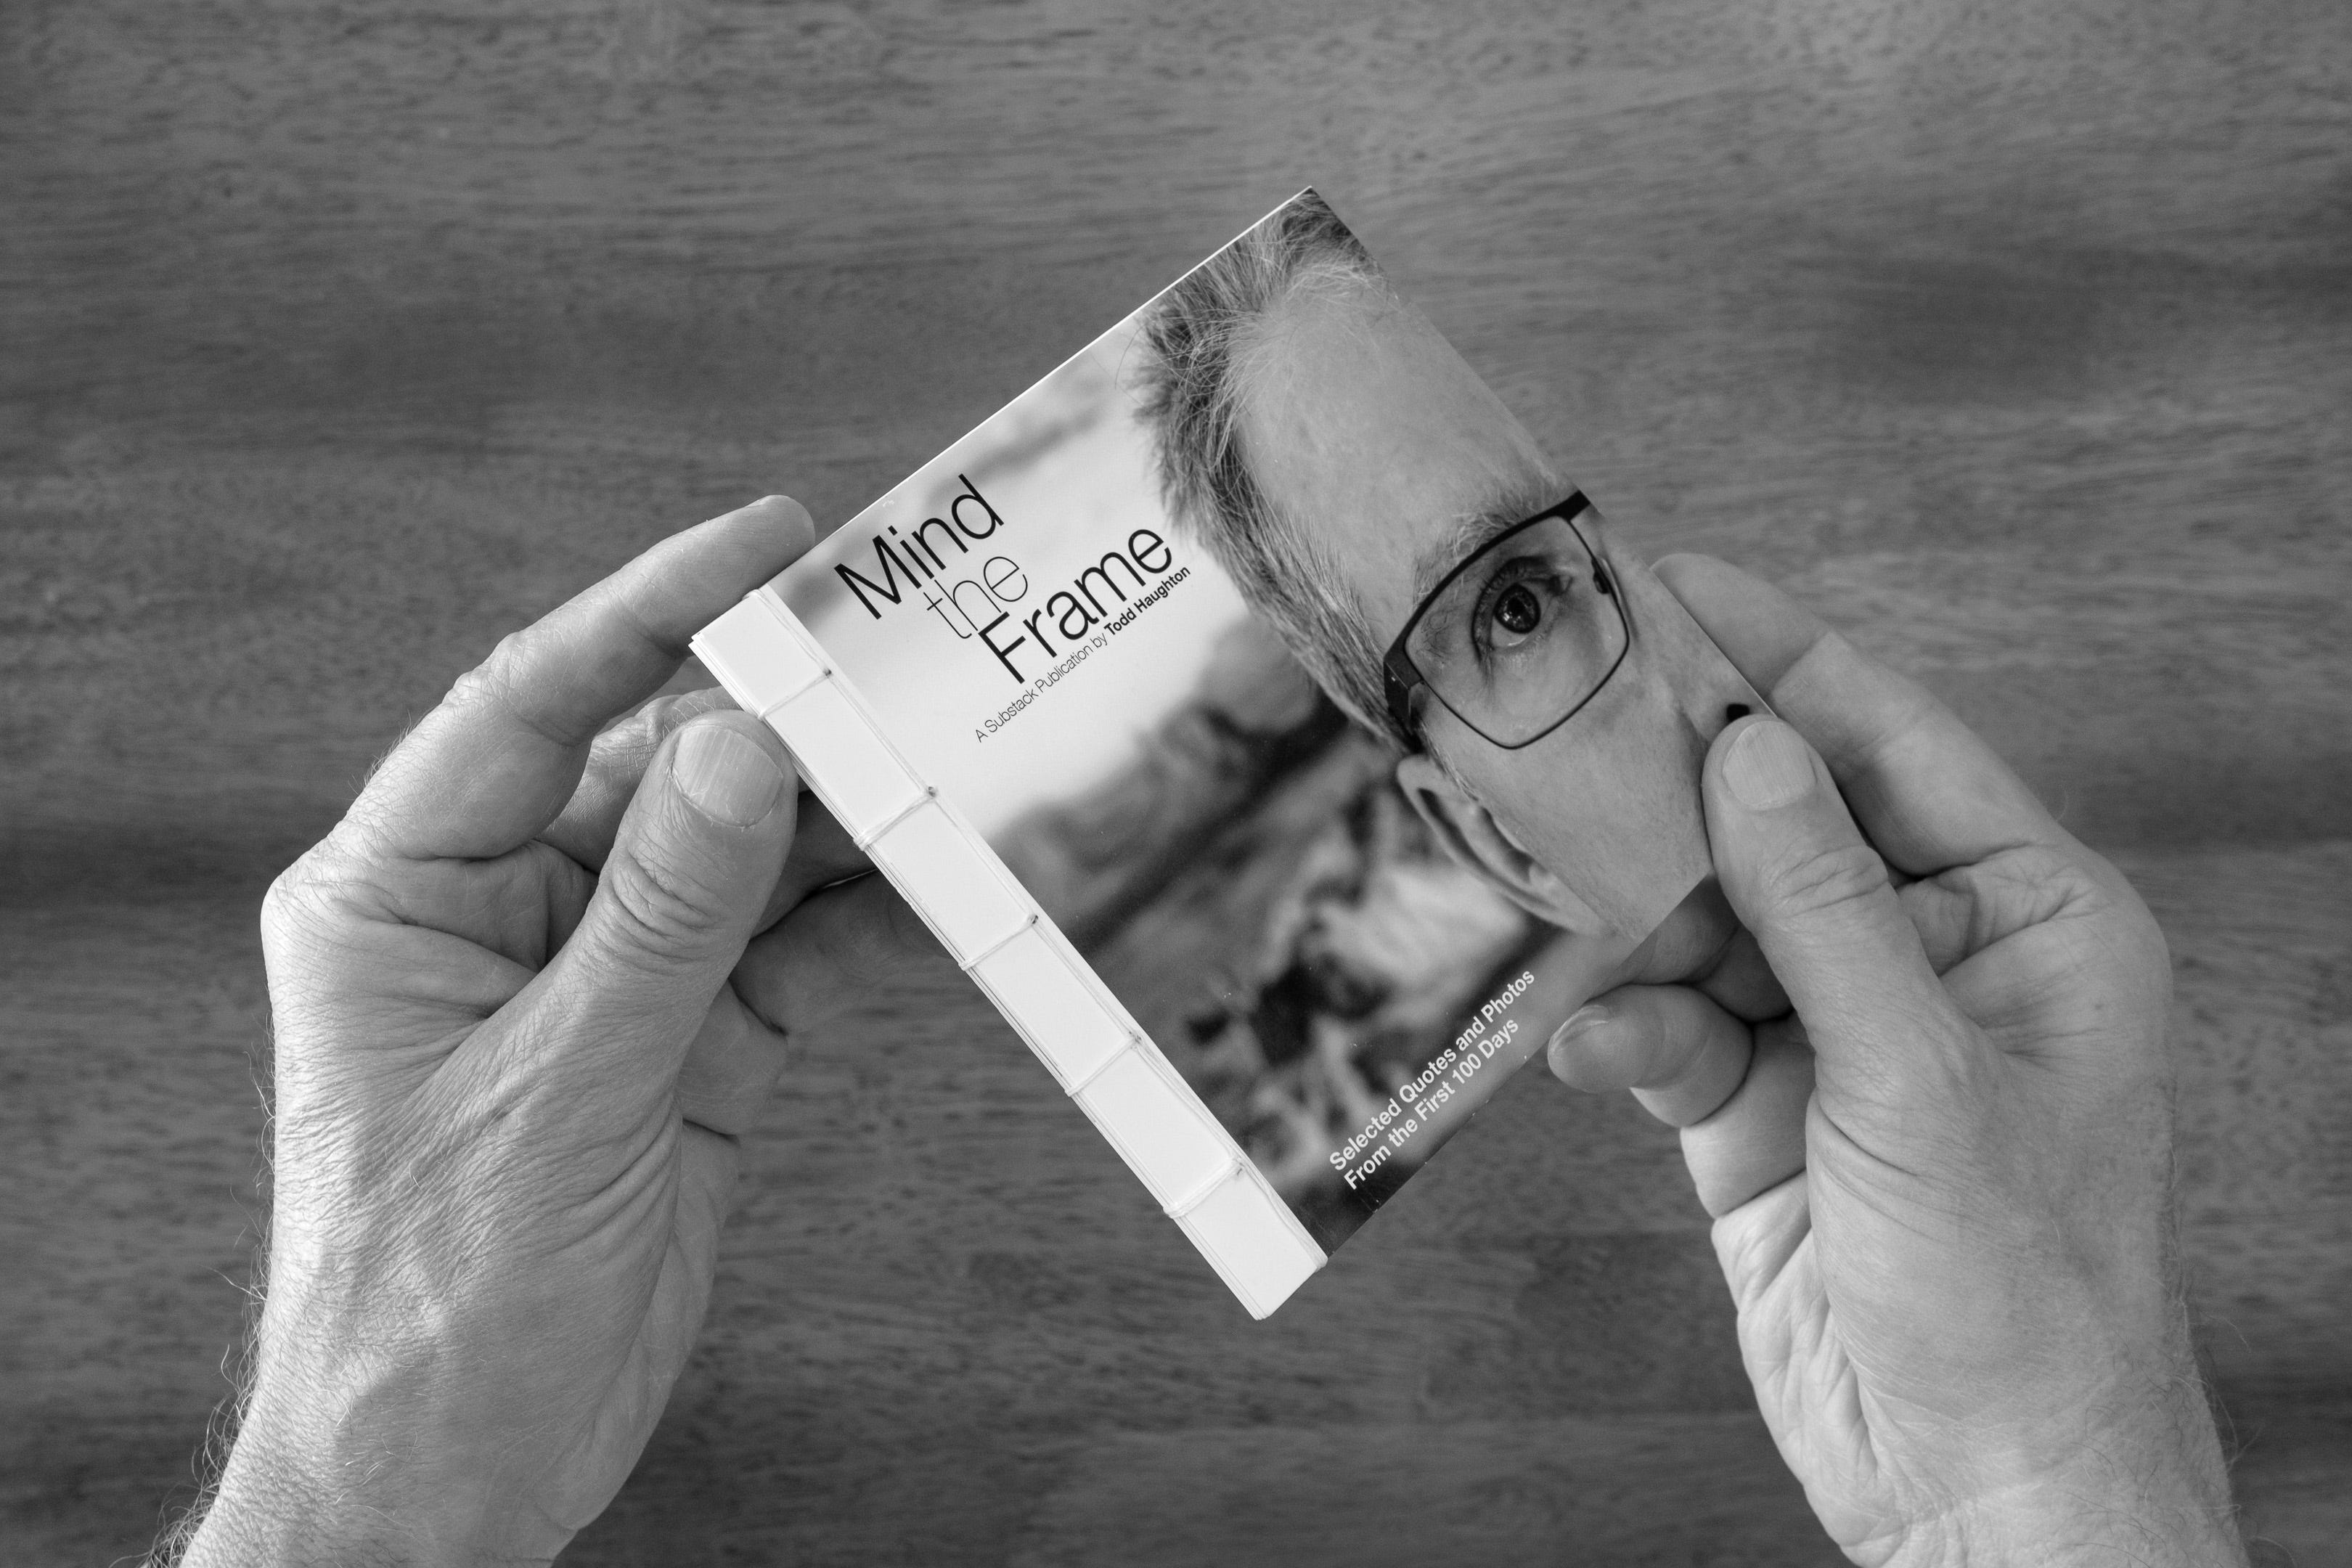
I decided to focus on creating a handmade zine using Japanese stab binding. I first attempted this technique last summer, when creating a zine celebrating my first 100 days on Substack. You can read more about it and also download a free PDF version of it in this post:

The handmade zine referenced in my prior post was primarily intended as an initial proof for what I would later send to Mixam for printing and binding. I had created handmade books before, but this was the first time I tried Japanese stab binding, and the experience was a fantastic learning opportunity. I absolutely loved the small size of the completed zine and how intimate it was to hold in my hands.
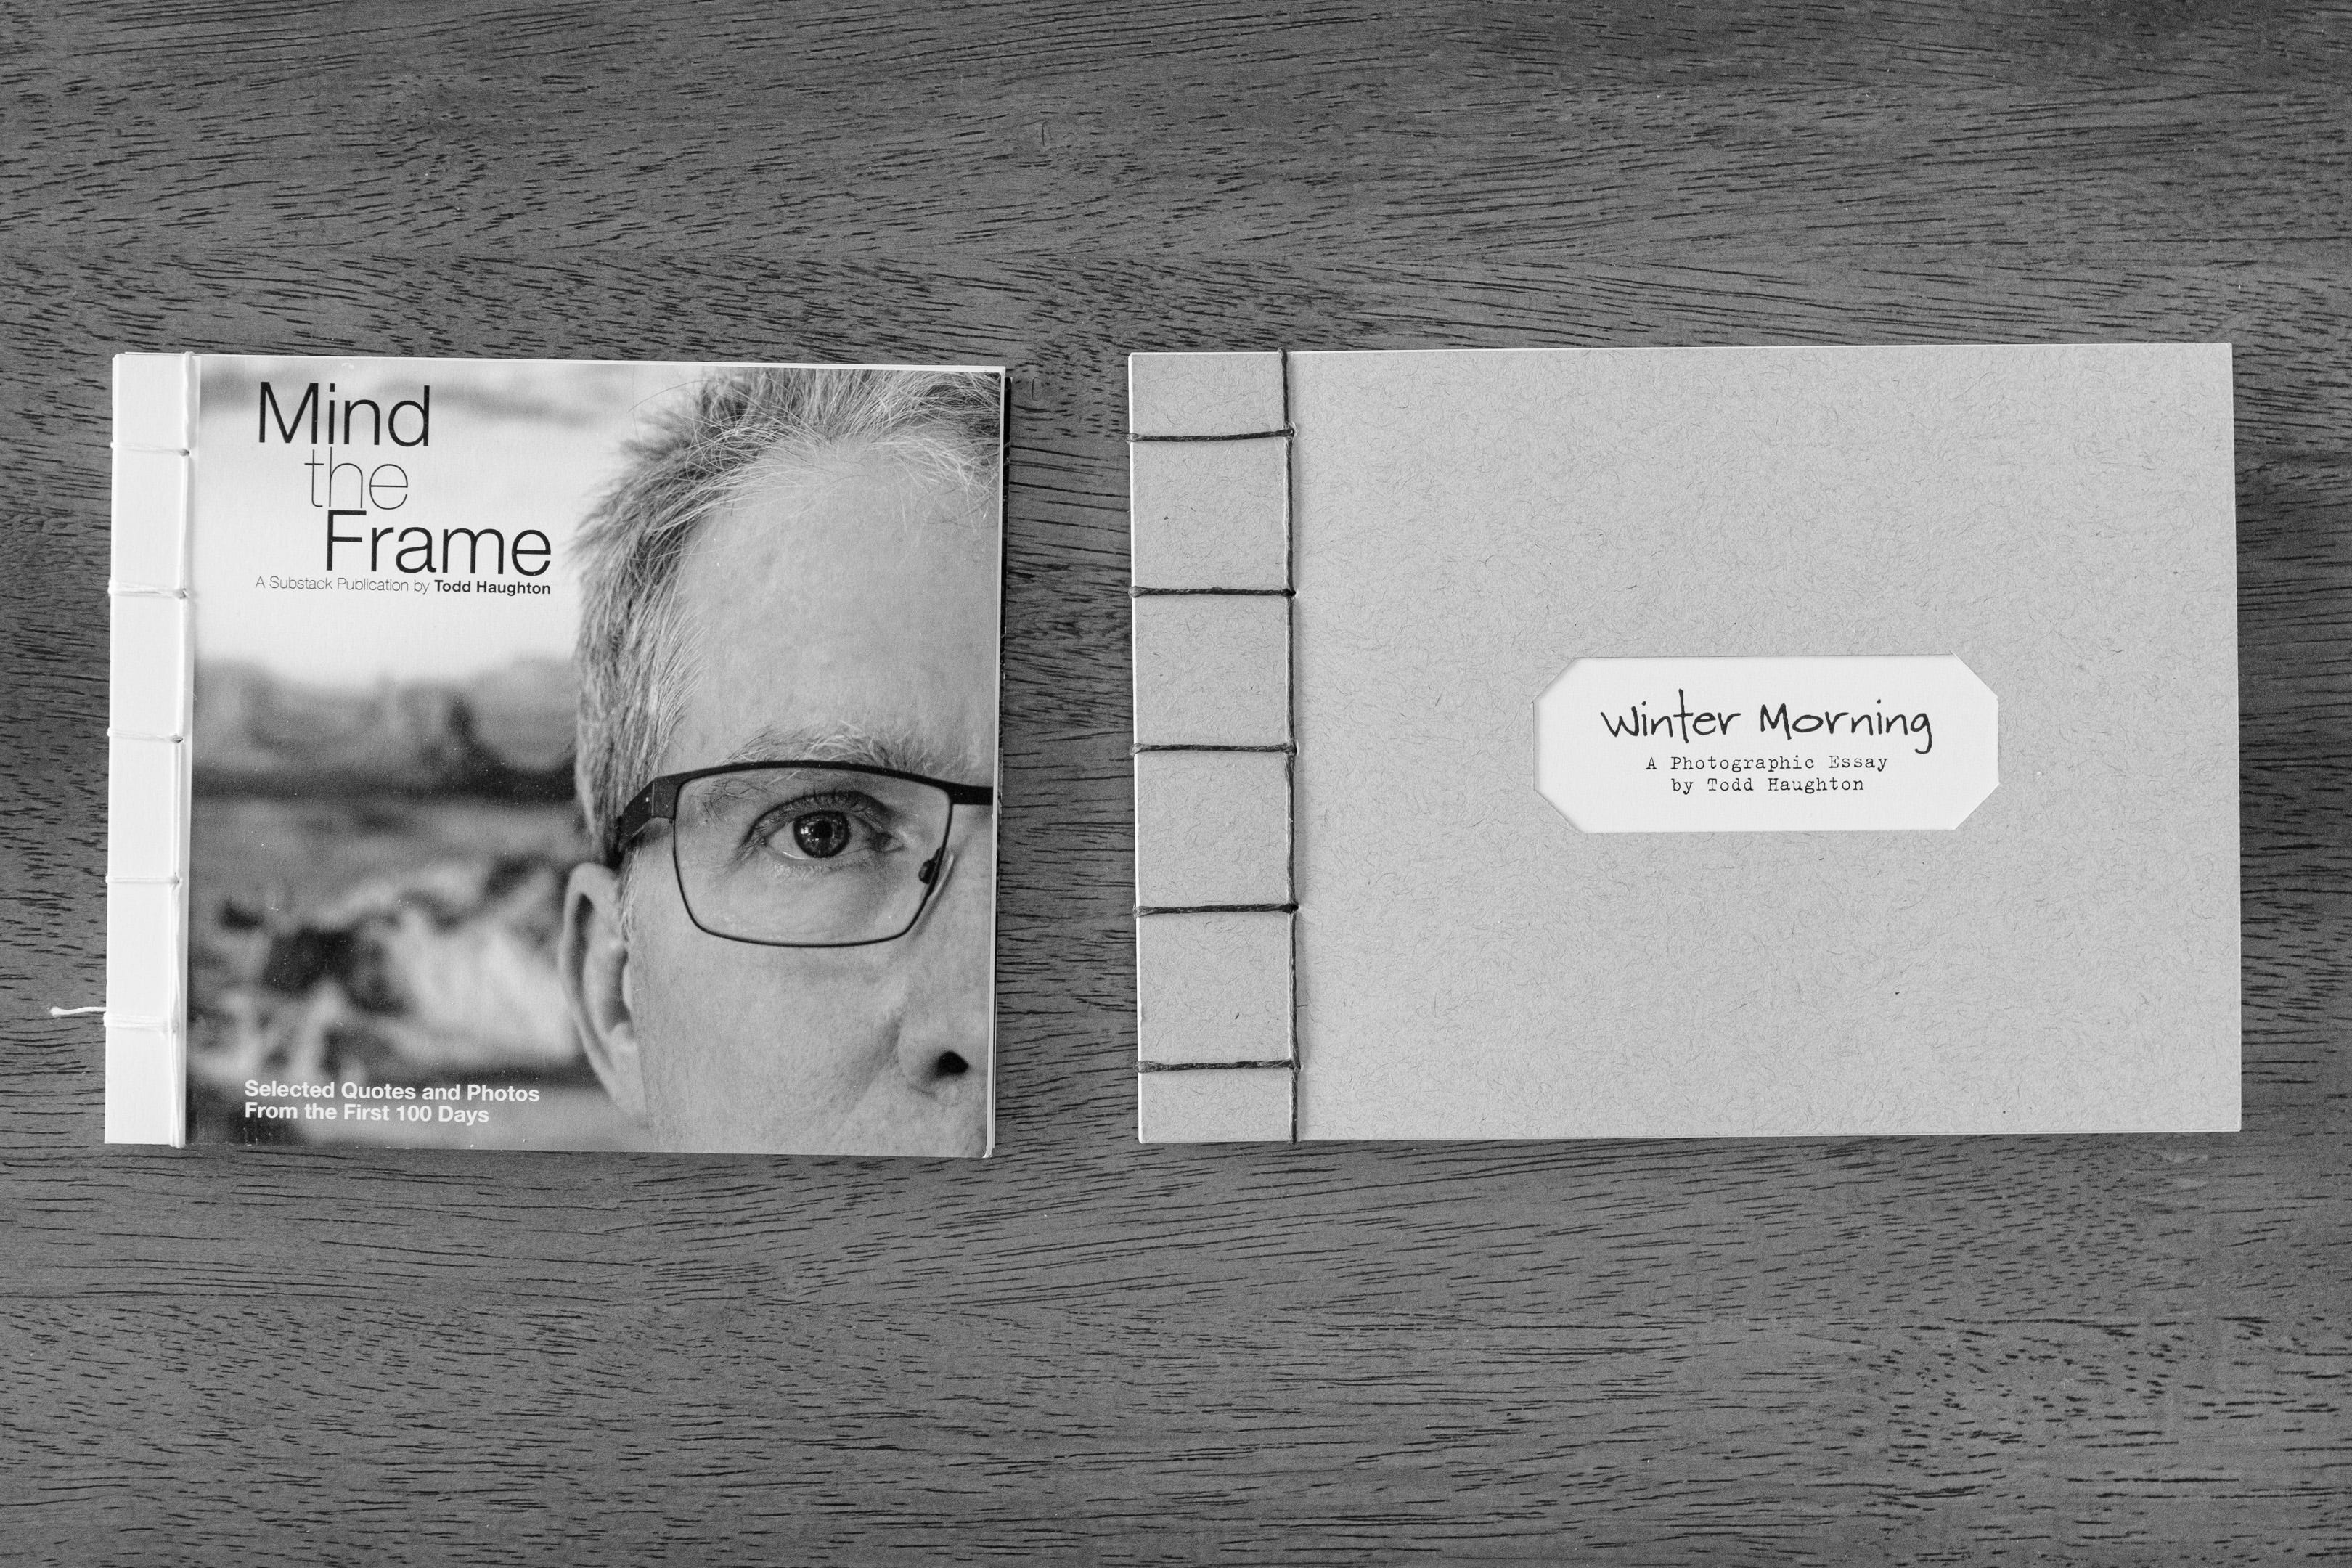
One design change I made with my new zine was to use a standard 5x7 inch paper size, so that I wouldn’t need to cut each sheet of paper down to a custom size, like I had to with my first zine. Here you can see both zines side by side to see how they compare from a size and aspect ratio perspective:
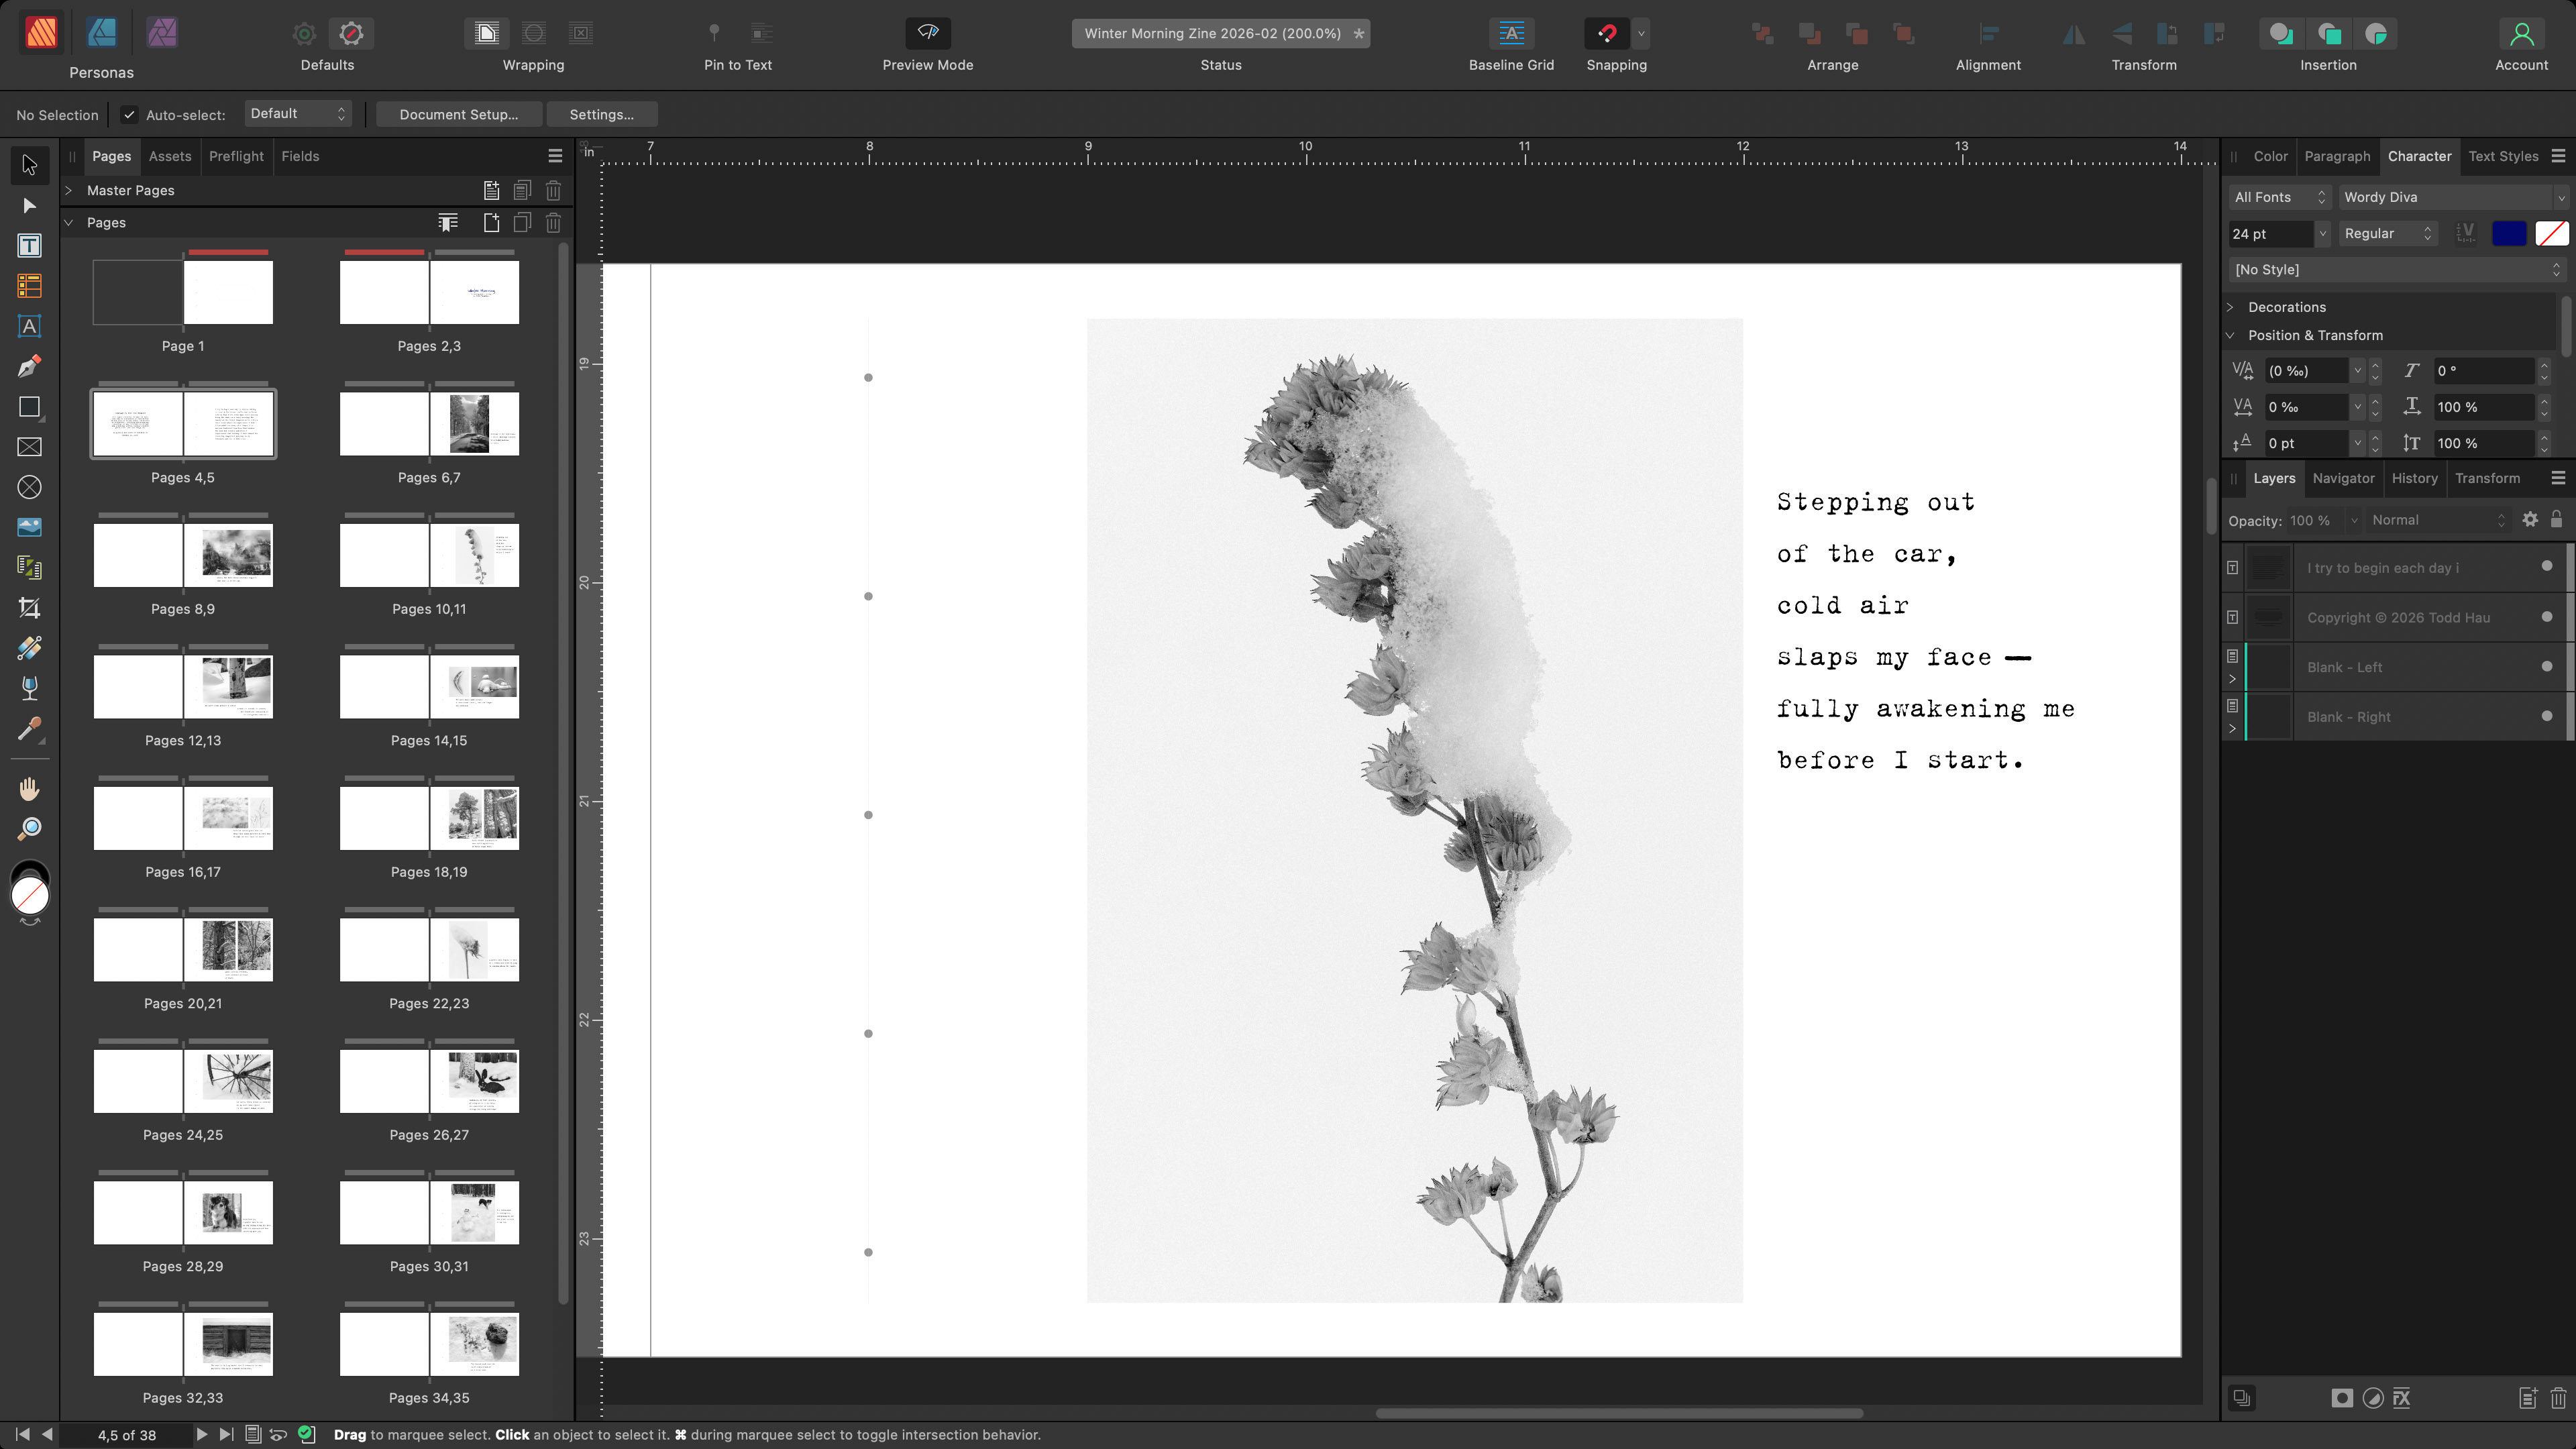
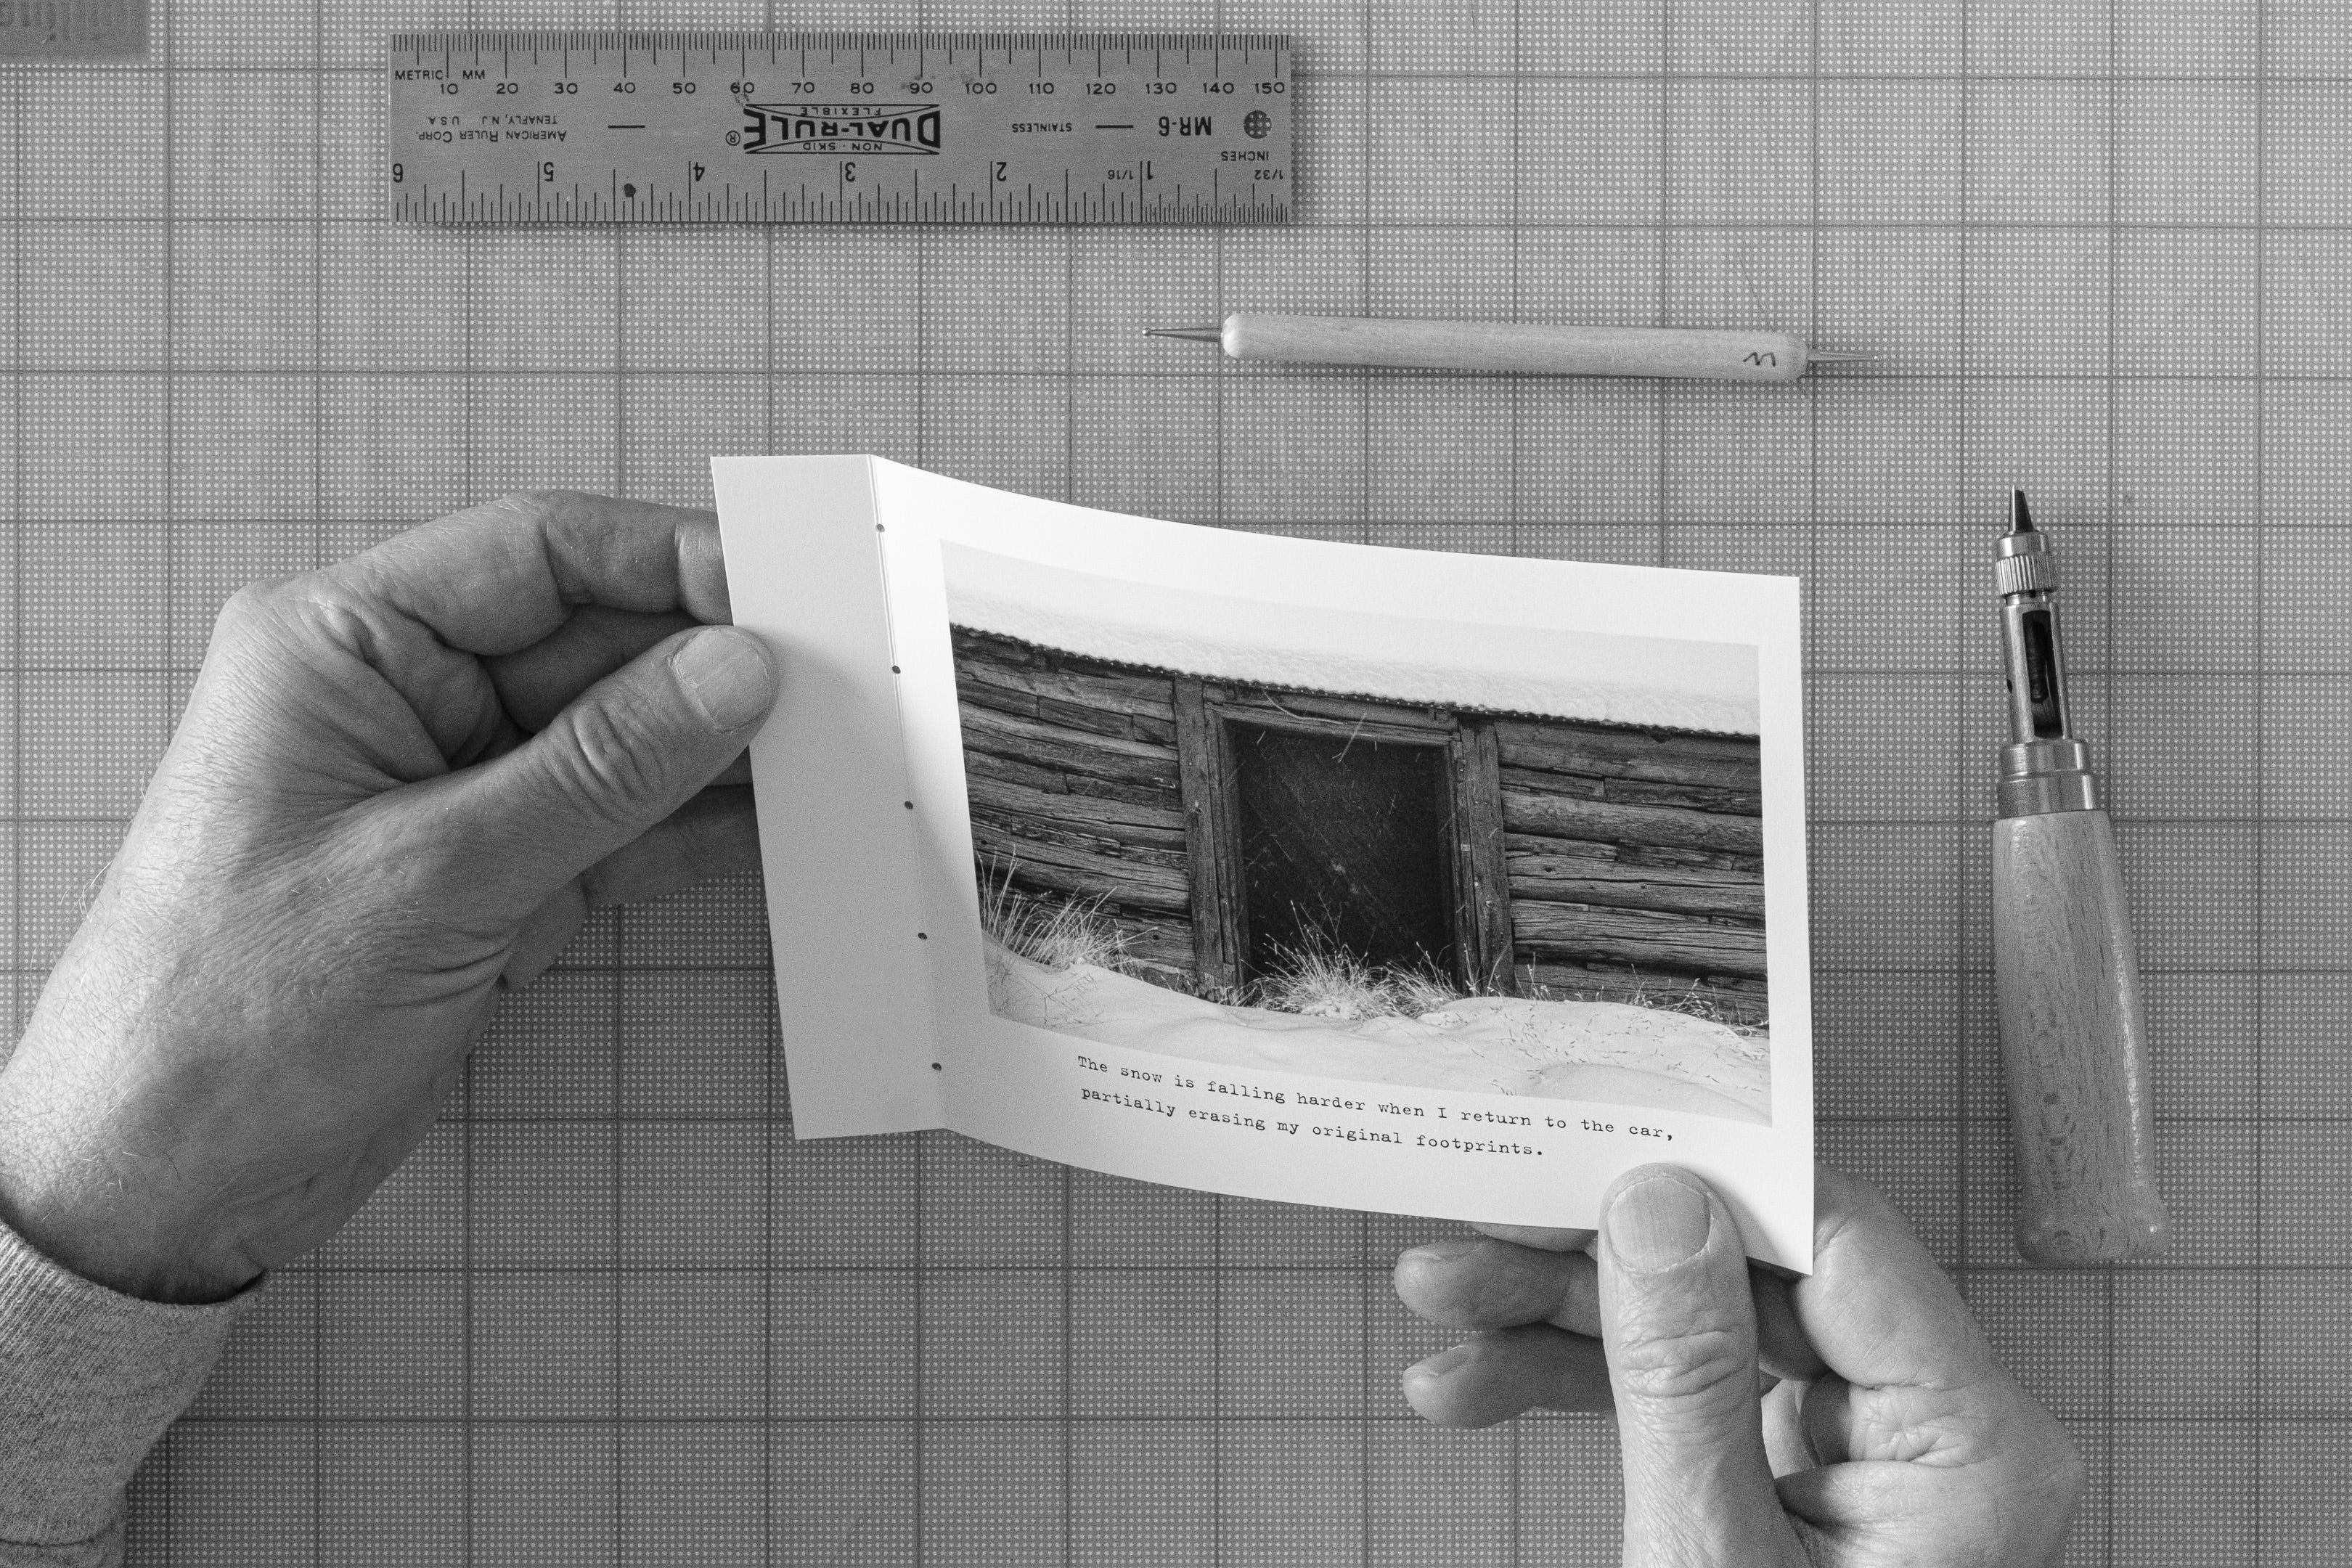
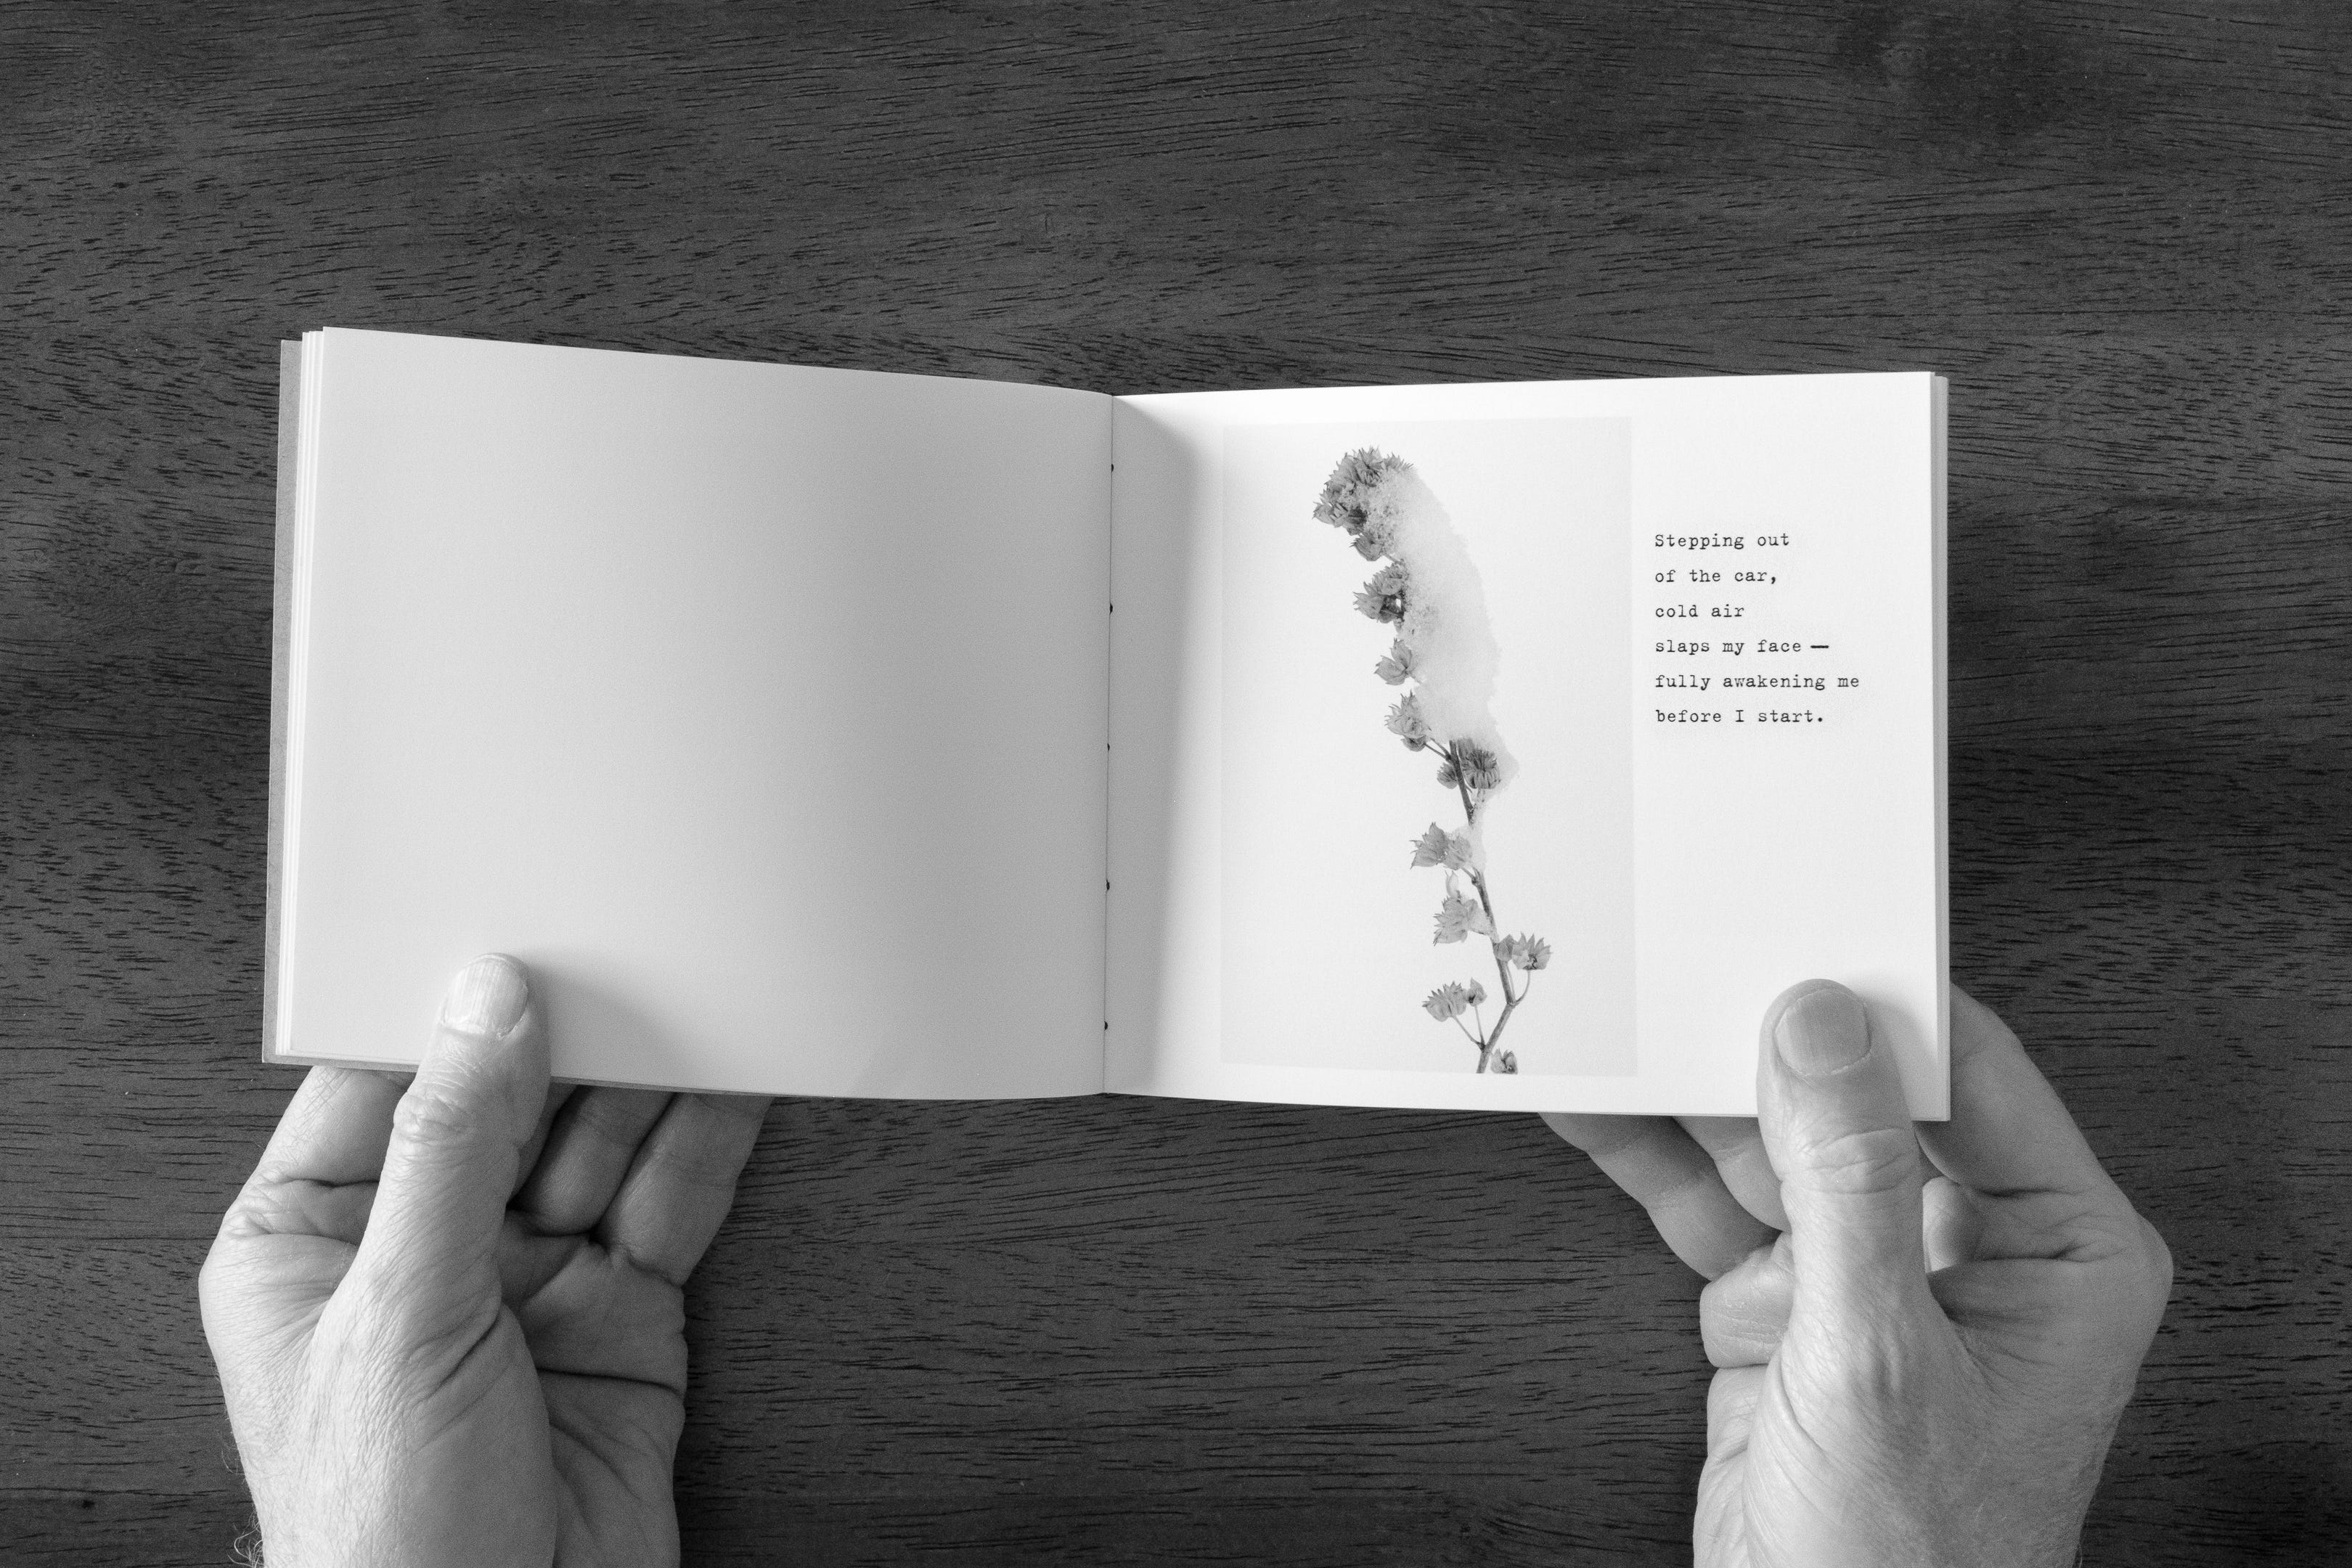
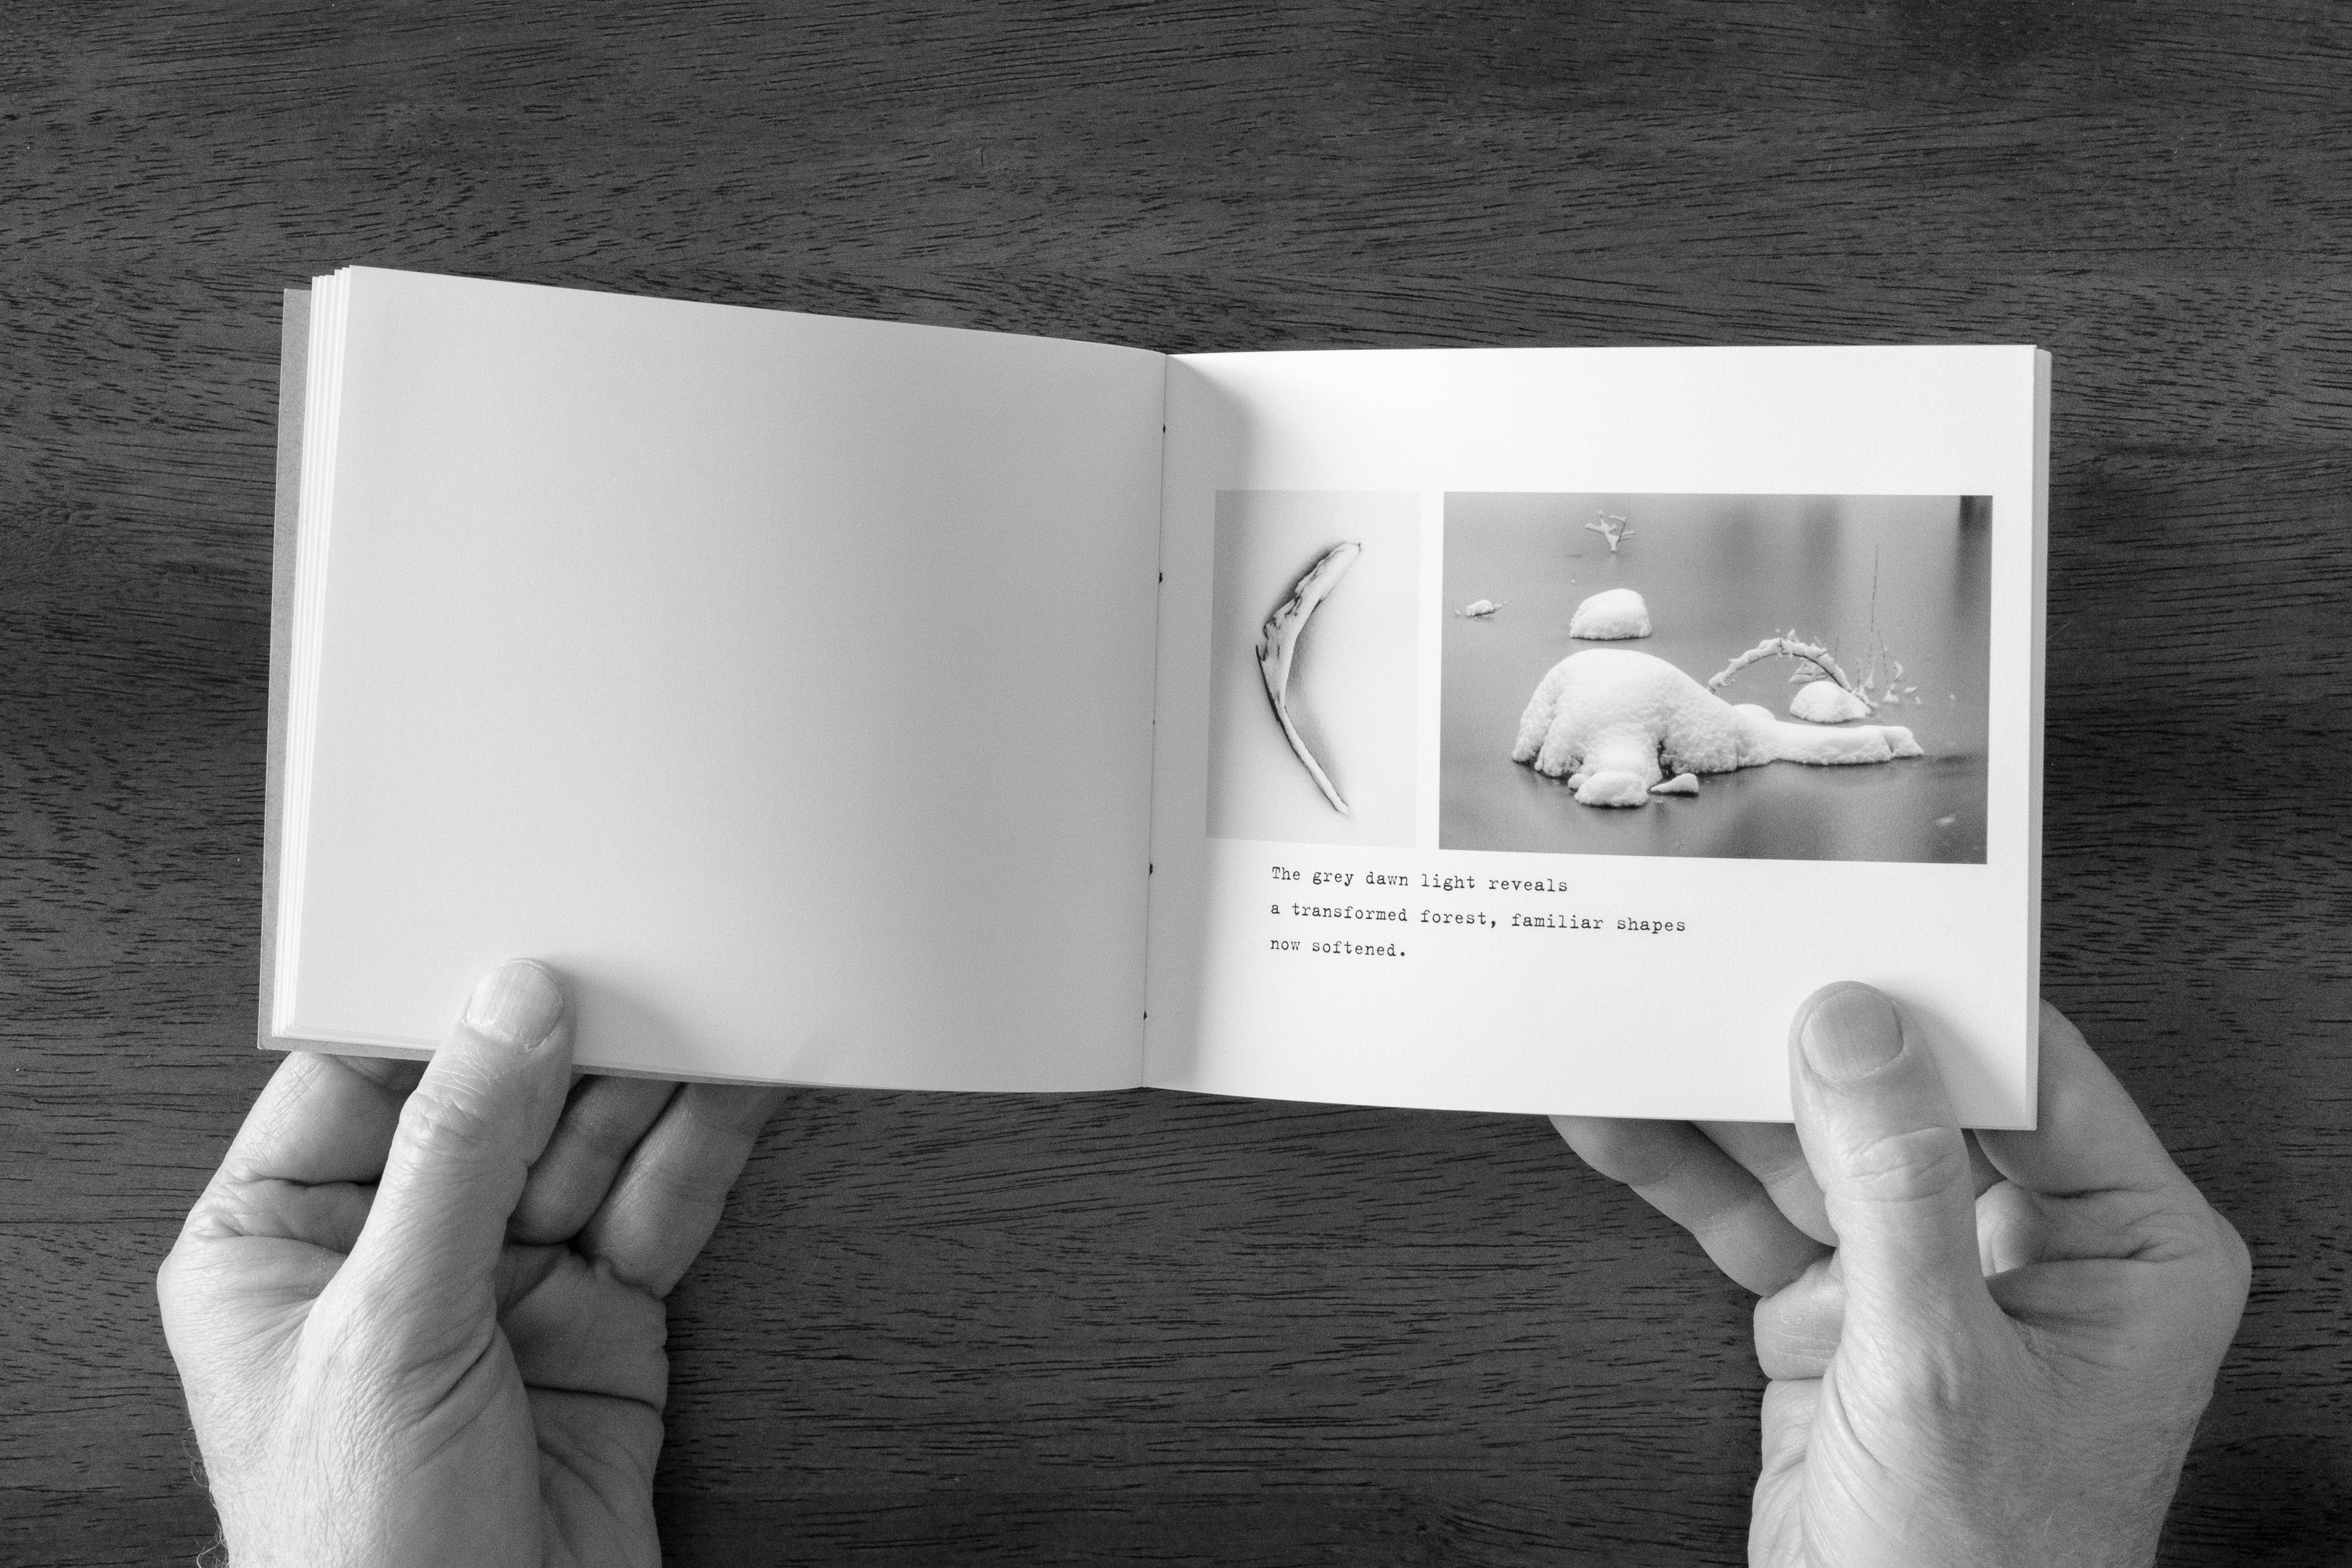
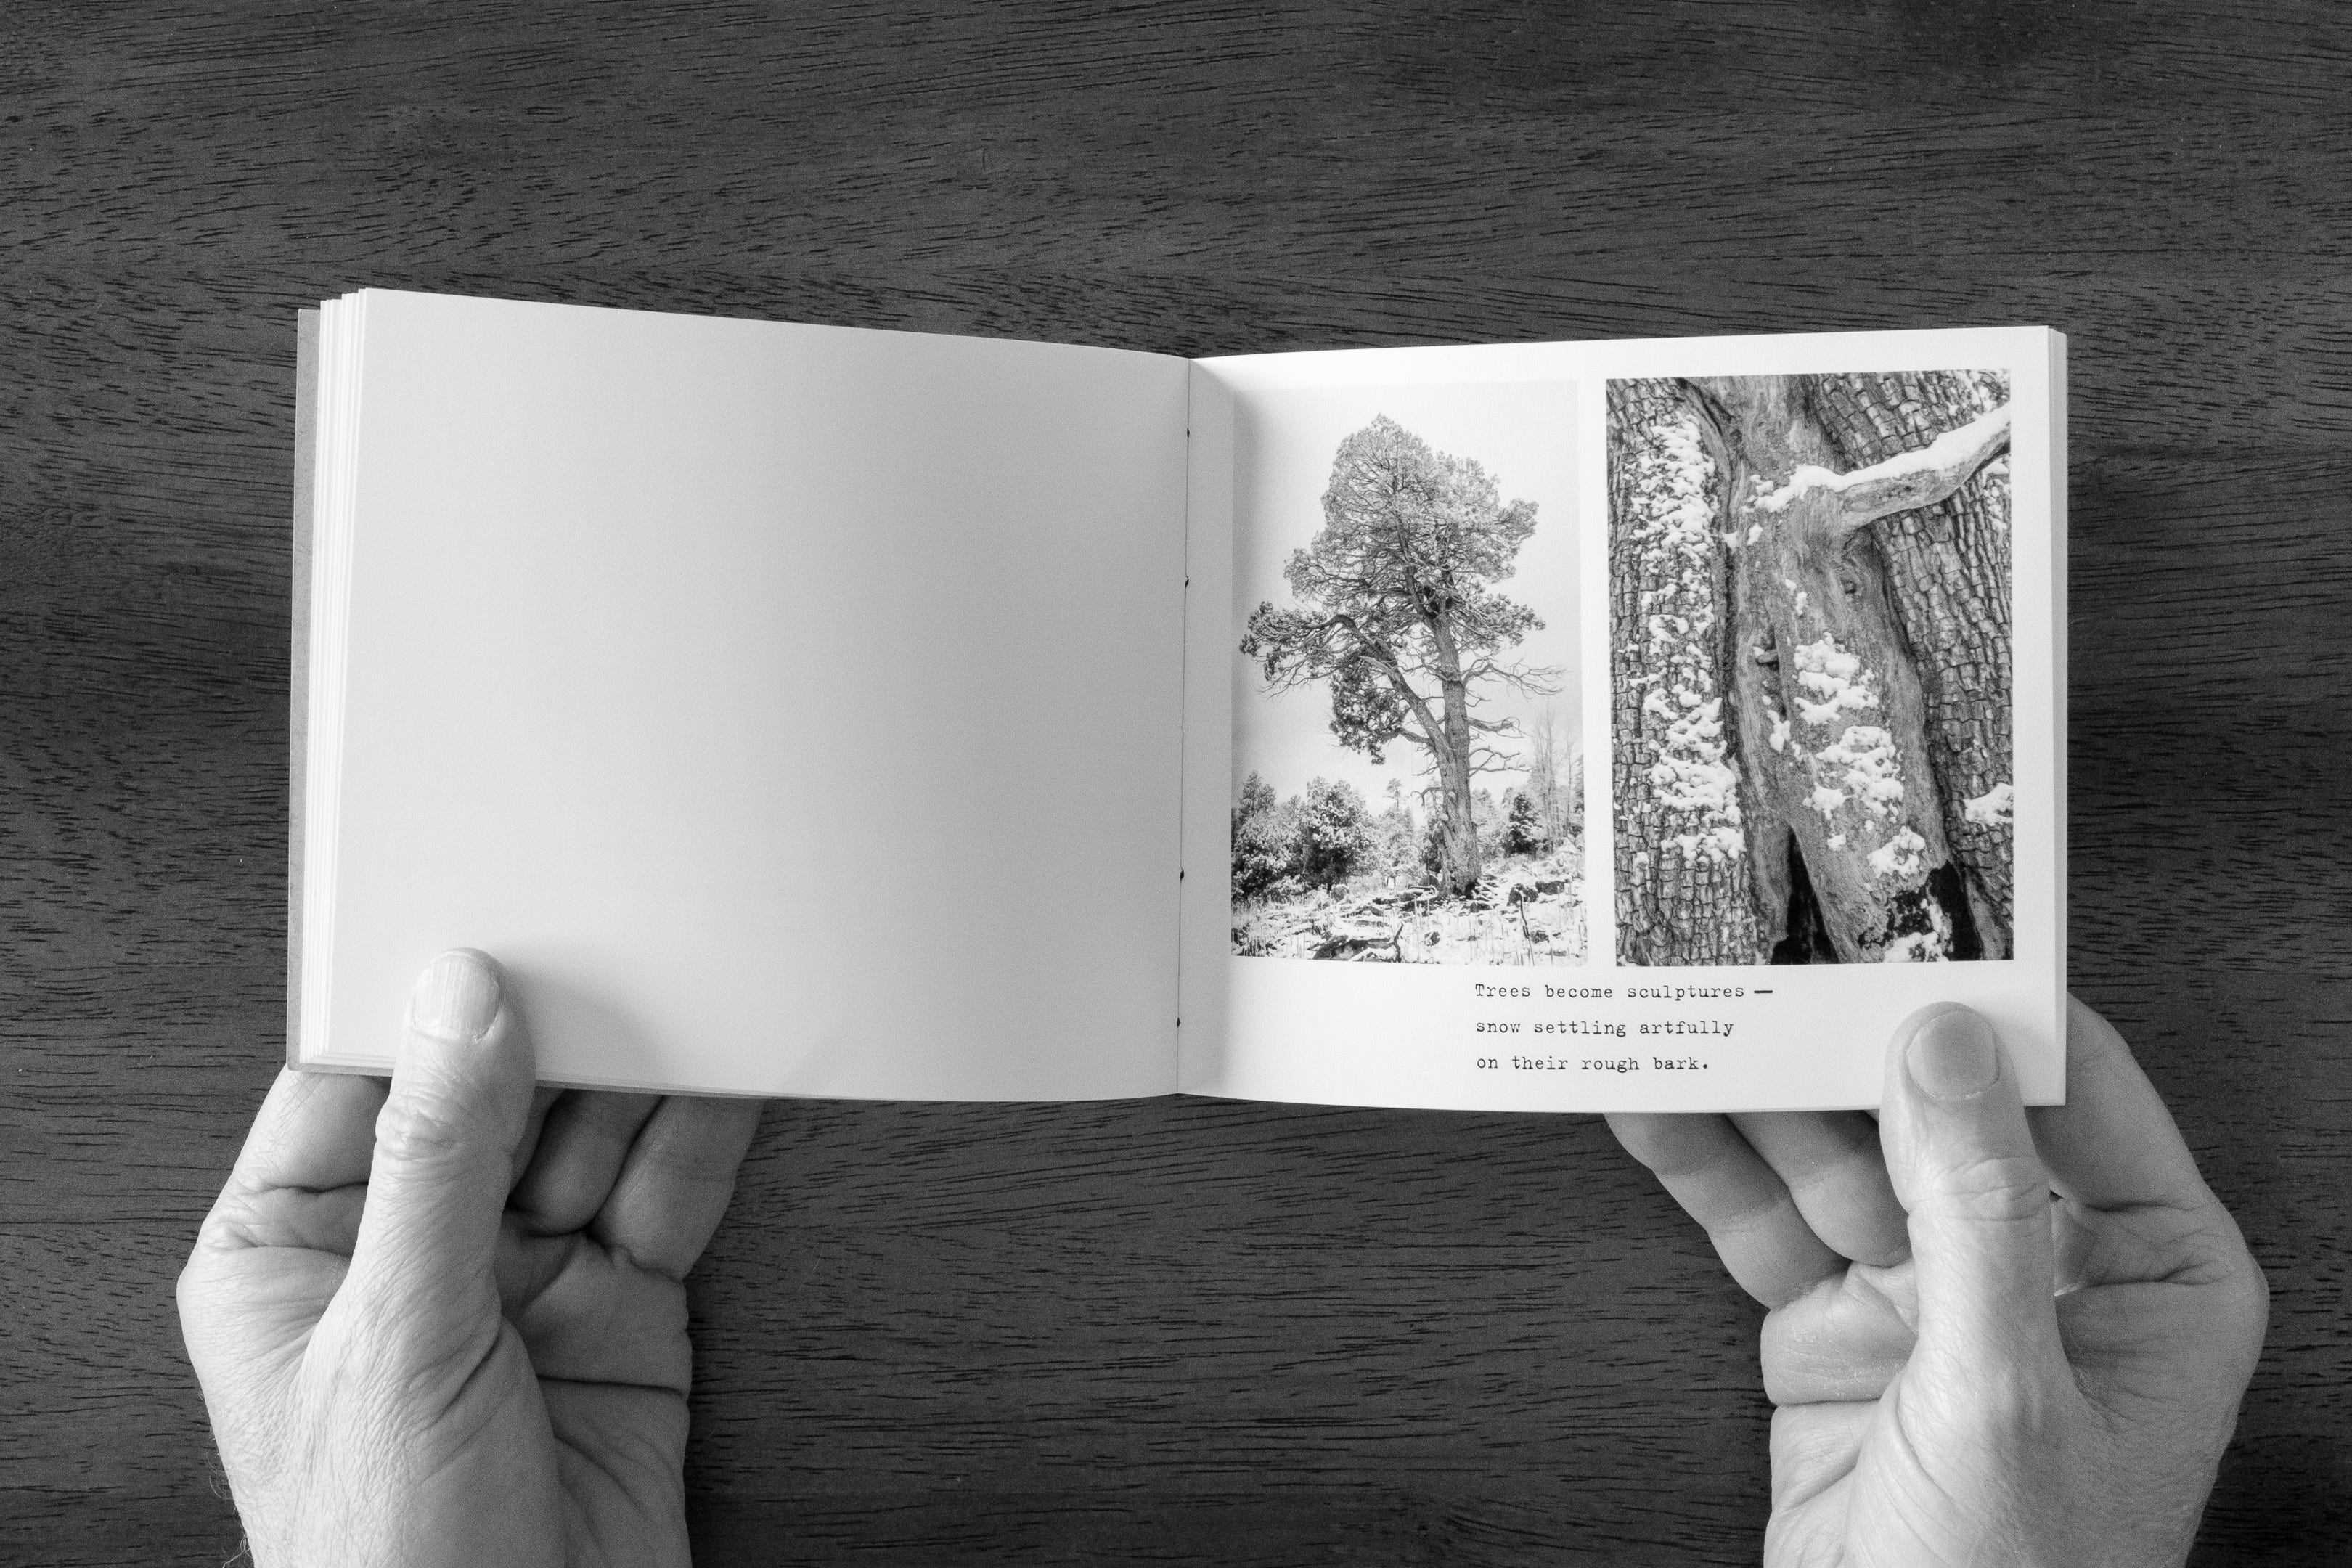
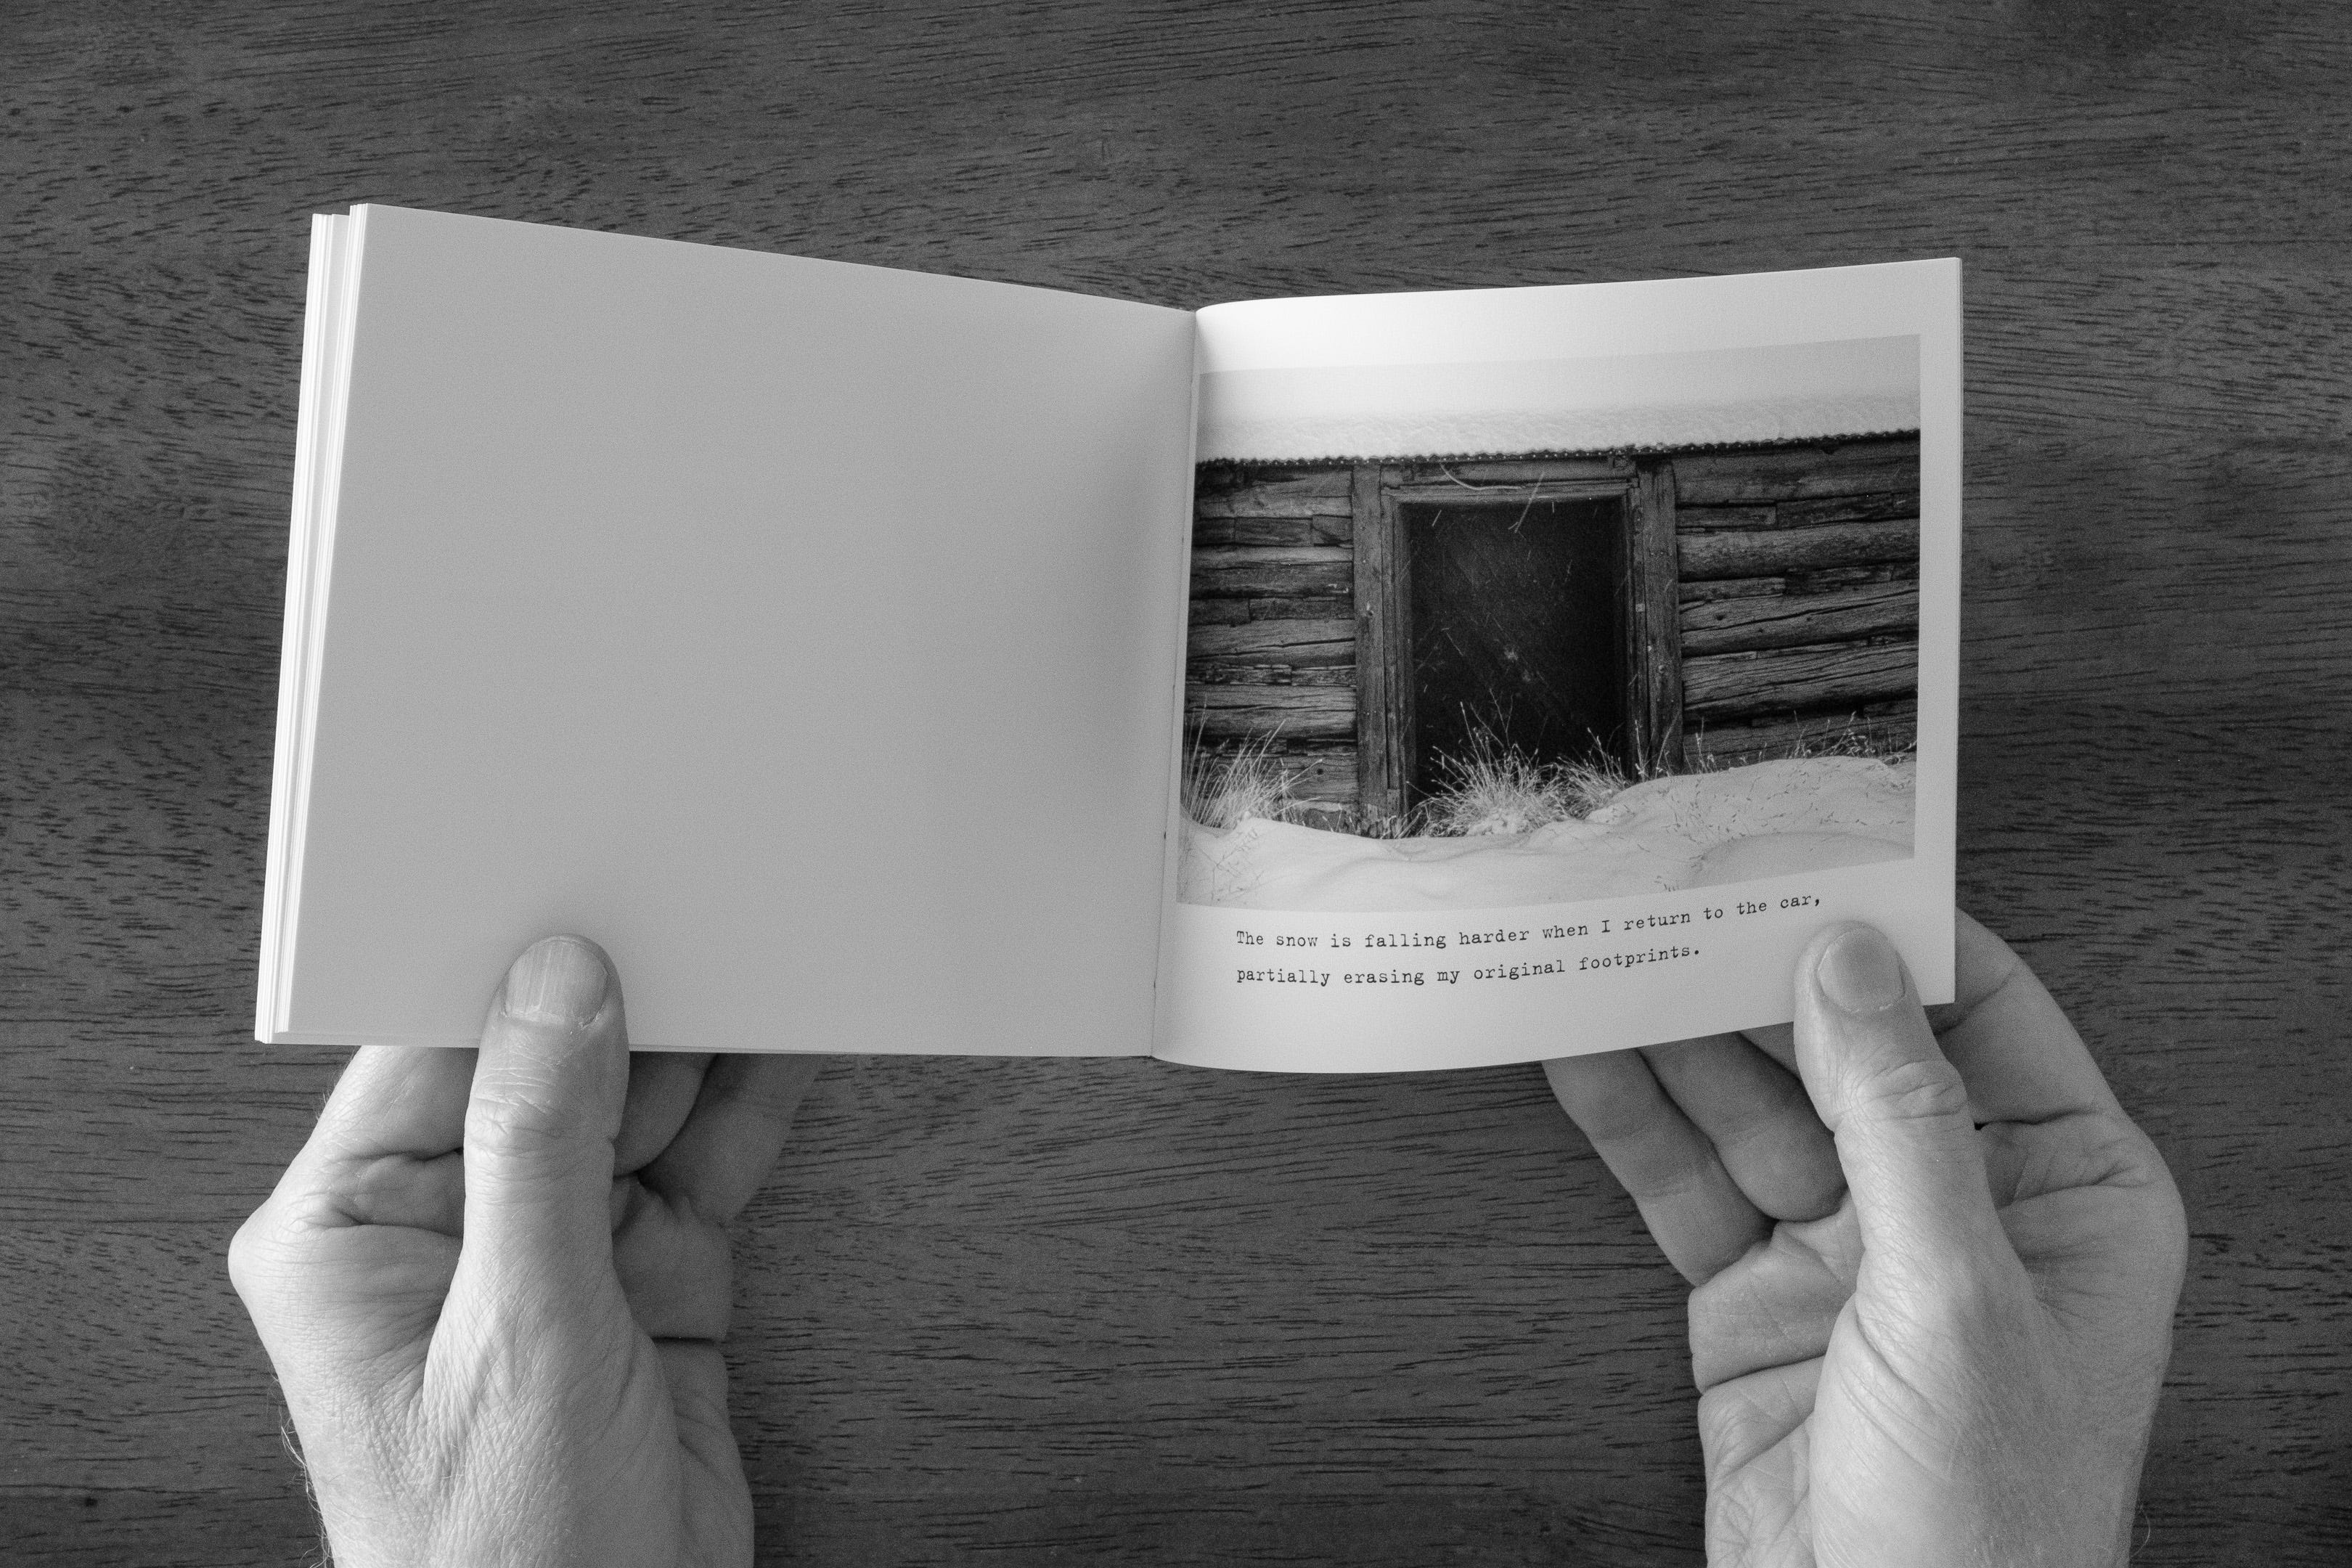
Once I decided on the size, I started to lay out each page of the zine using Affinity Publisher. I chose to position the text for each image immediately to the right or below each photo, in the same way I did on my Winter Morning post. This design choice further simplified my process because I only needed to print on one side of the page to make the zine.
I like printing with 200 gsm matte paper; however, heavy paper is quite stiff, which makes the pages of the zine hard to open. I was just starting to think about how to overcome this challenge when Susanne Helmert shared a Substack note with a video showing the beautiful zine she created of the yearlong collaboration project between her and Just Suzy.
I could clearly see in the video that Susanne had overcome the challenge of making a zine using heavy paper. After I commented on her note, she suggested that I try using a scoring tool on the thick paper to make the zine pages easier to open.
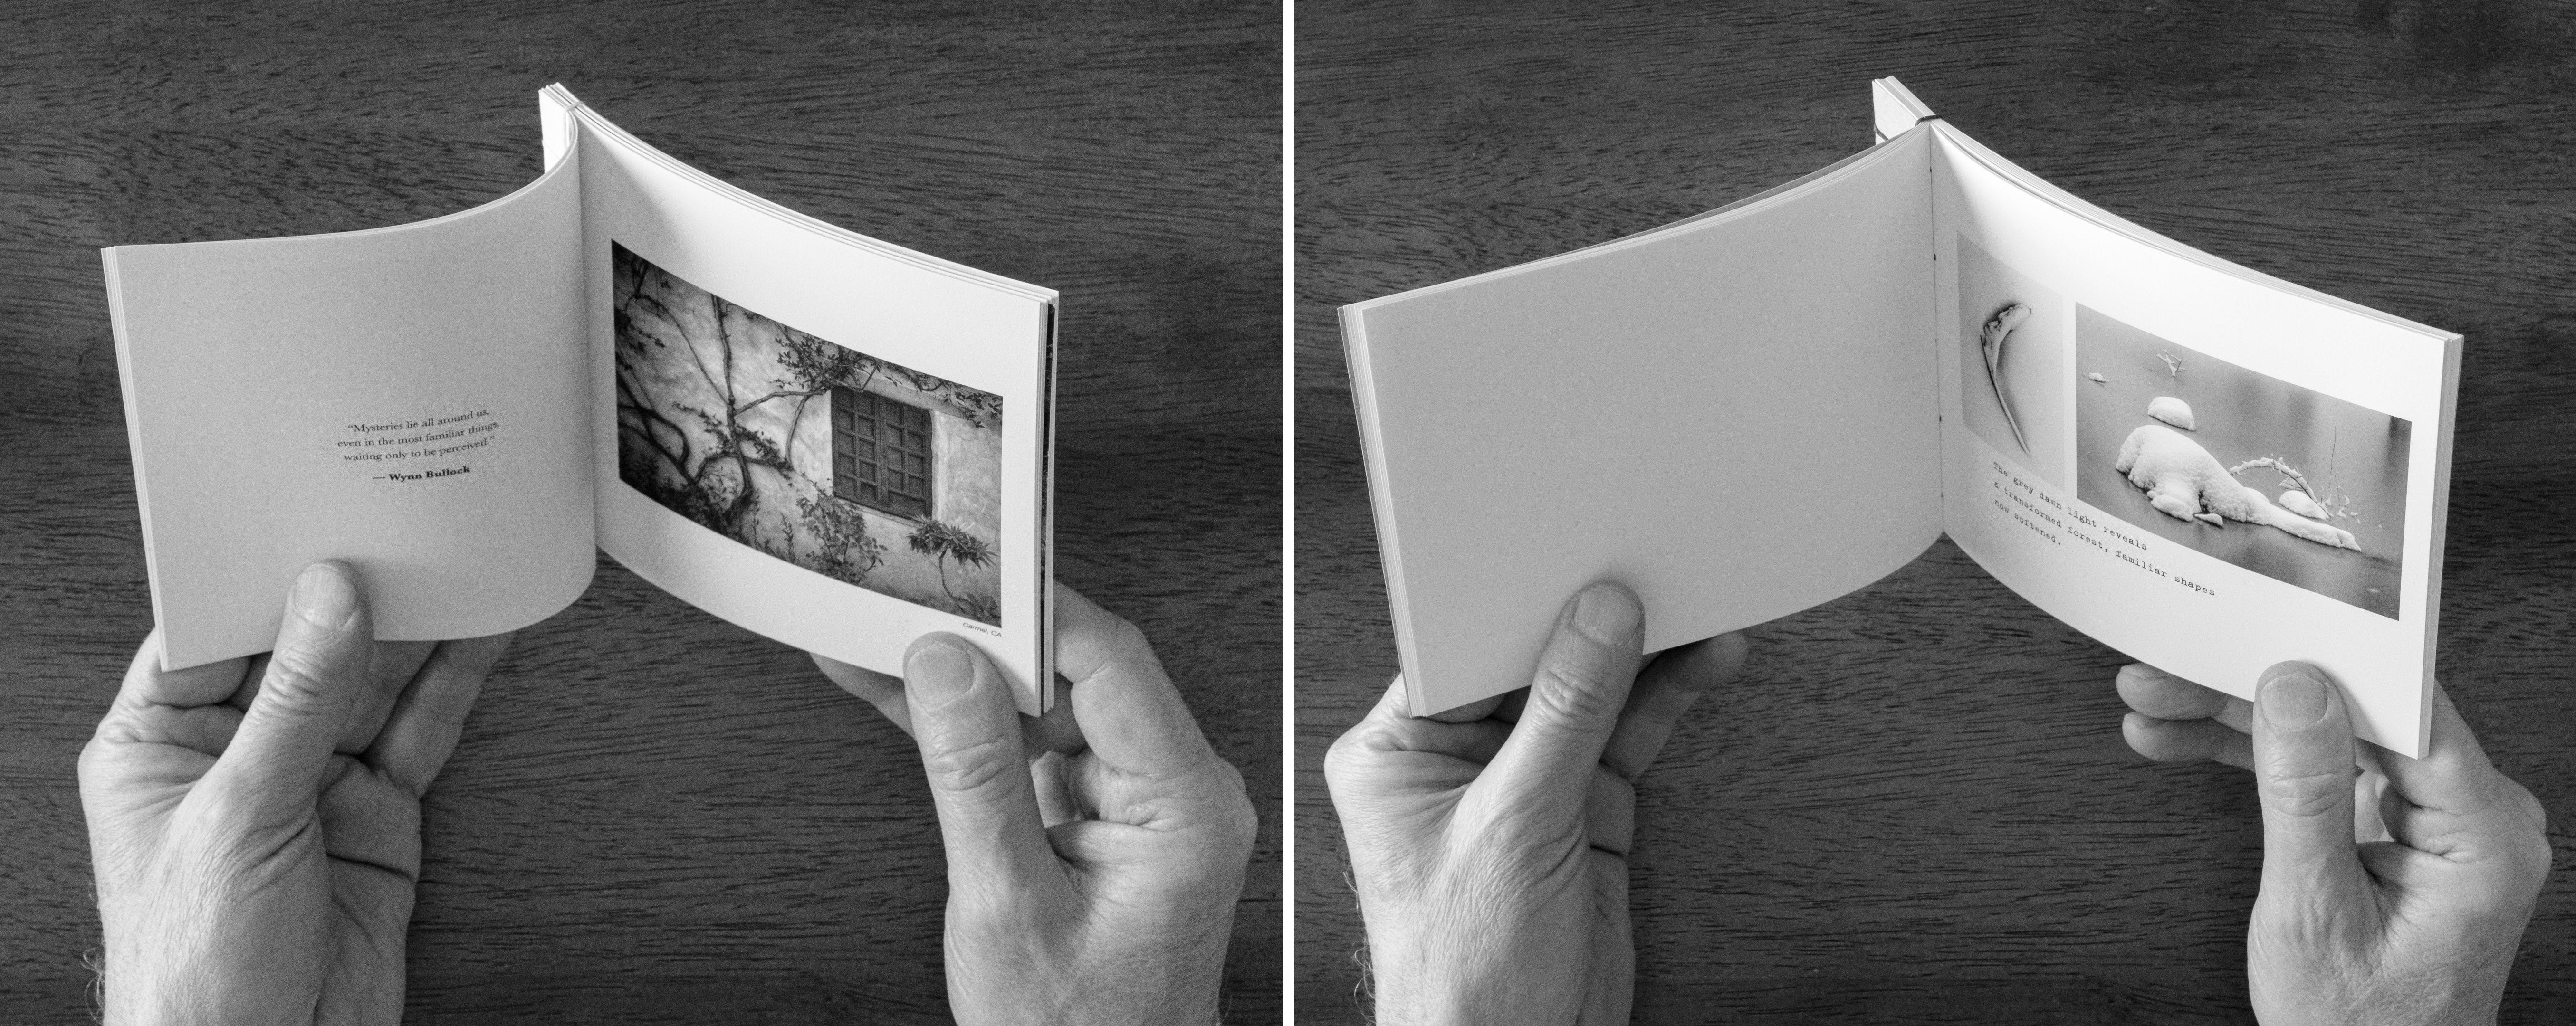
I immediately ordered a scoring tool, learned how to use it, and then scored all the pages of my Winter Morning zine. Here you can see how it opens in comparison to my prior zine where I didn’t score the pages:
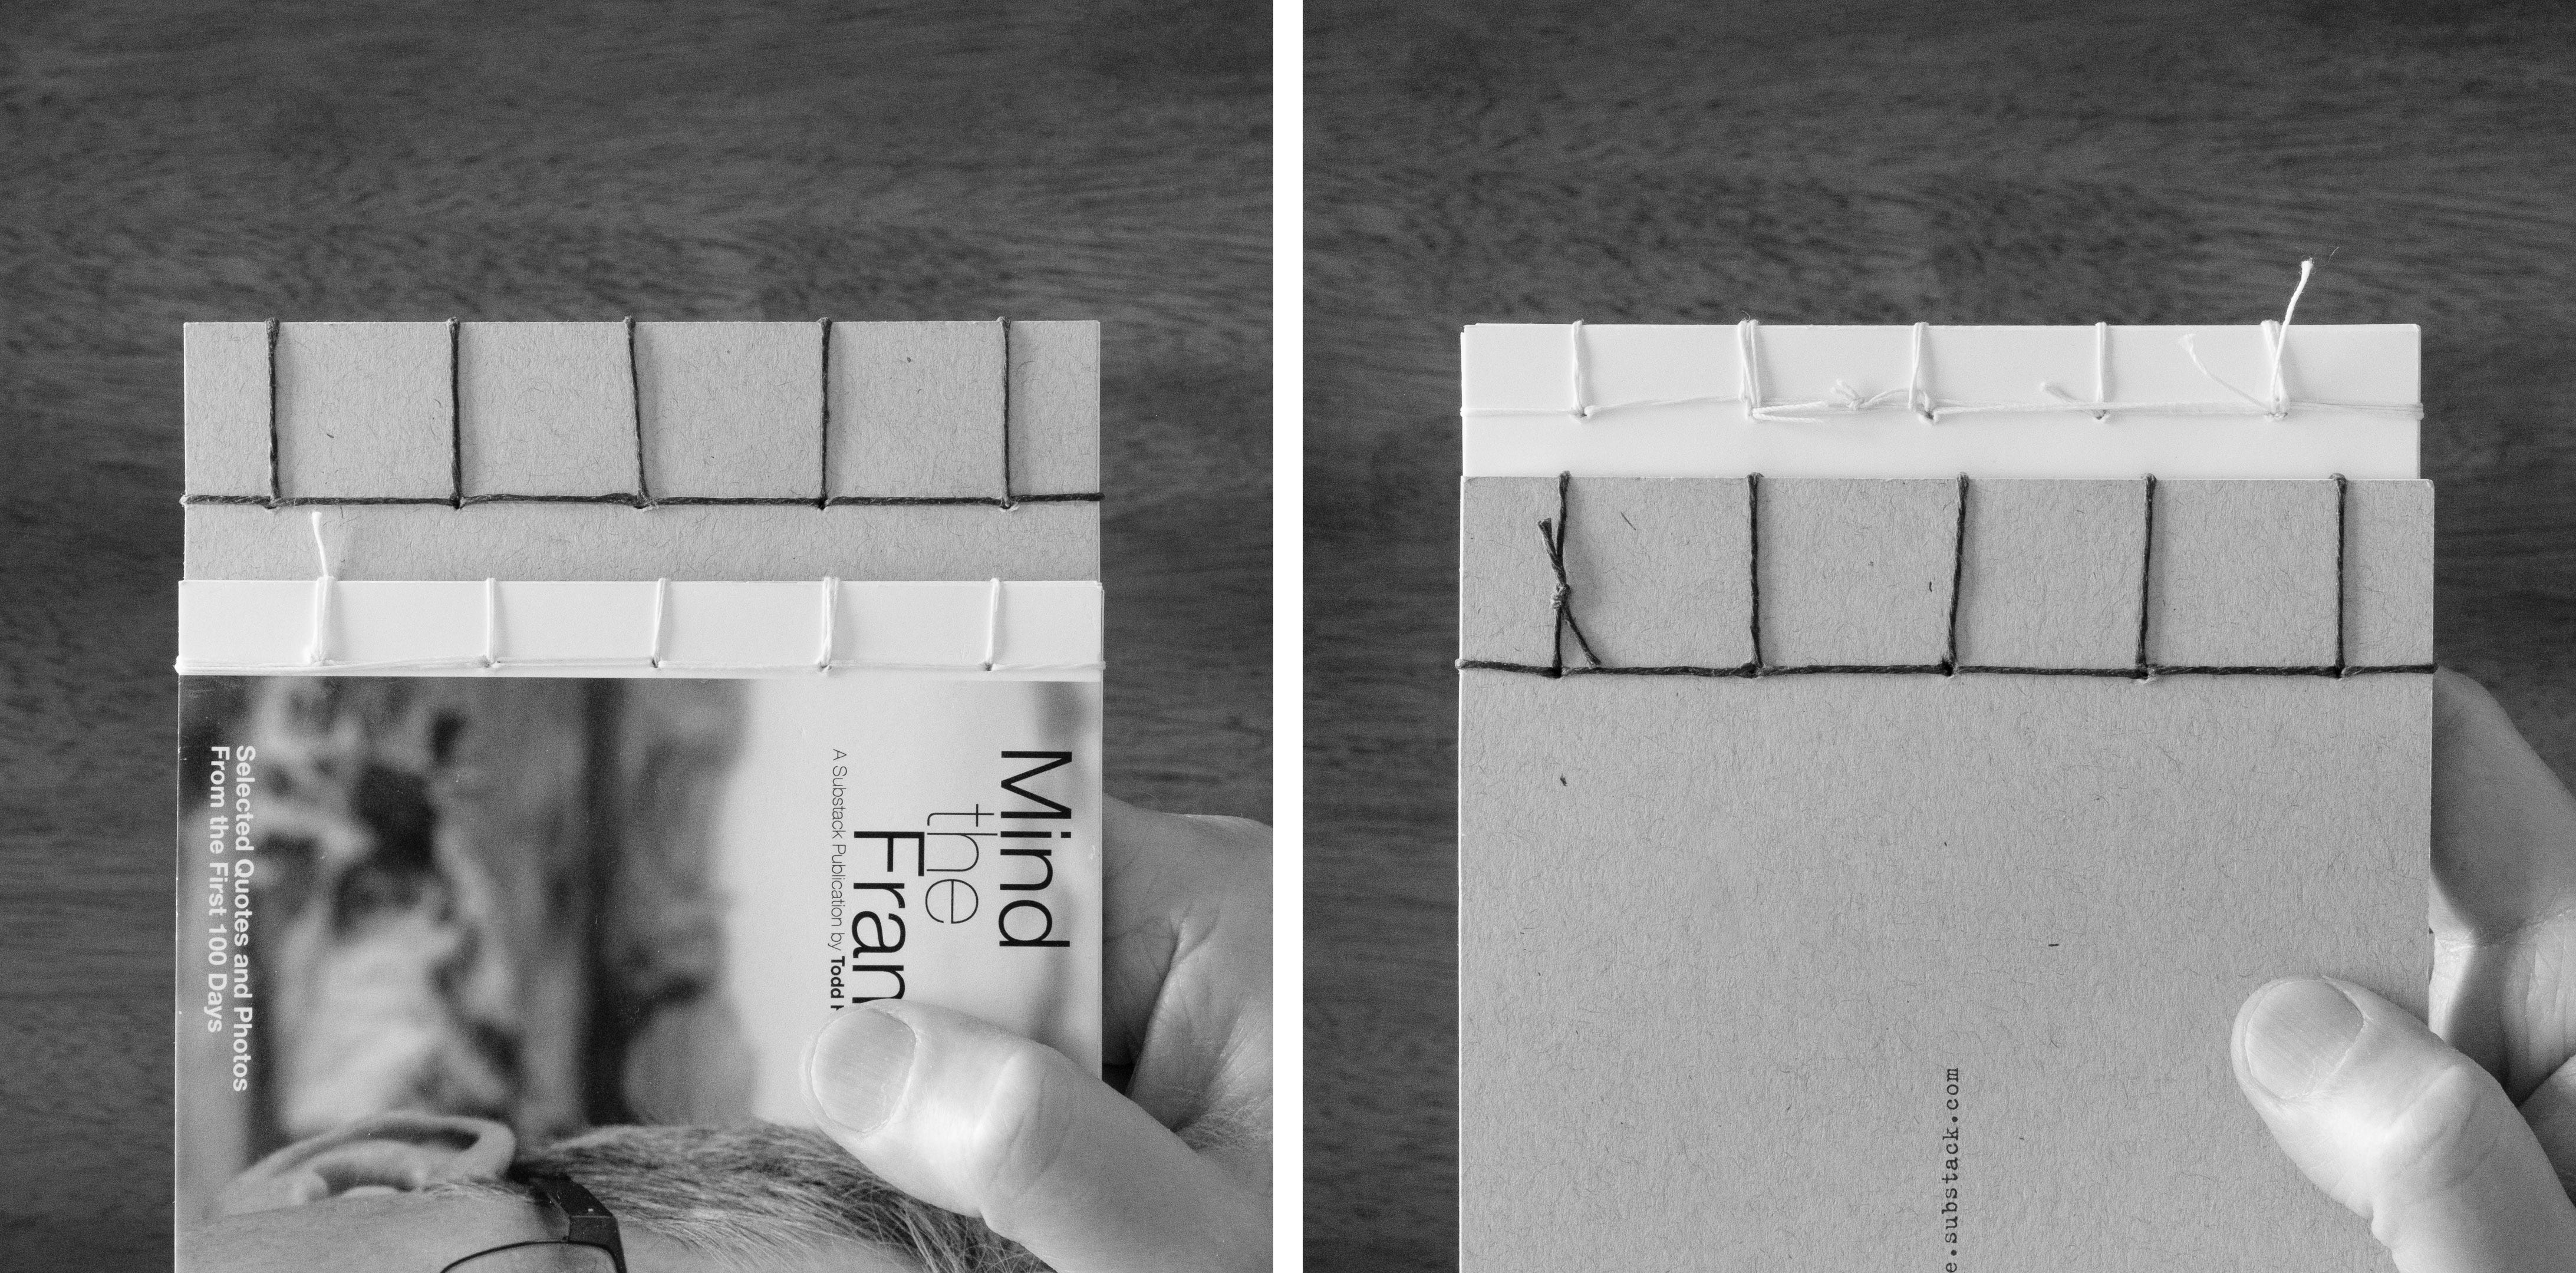
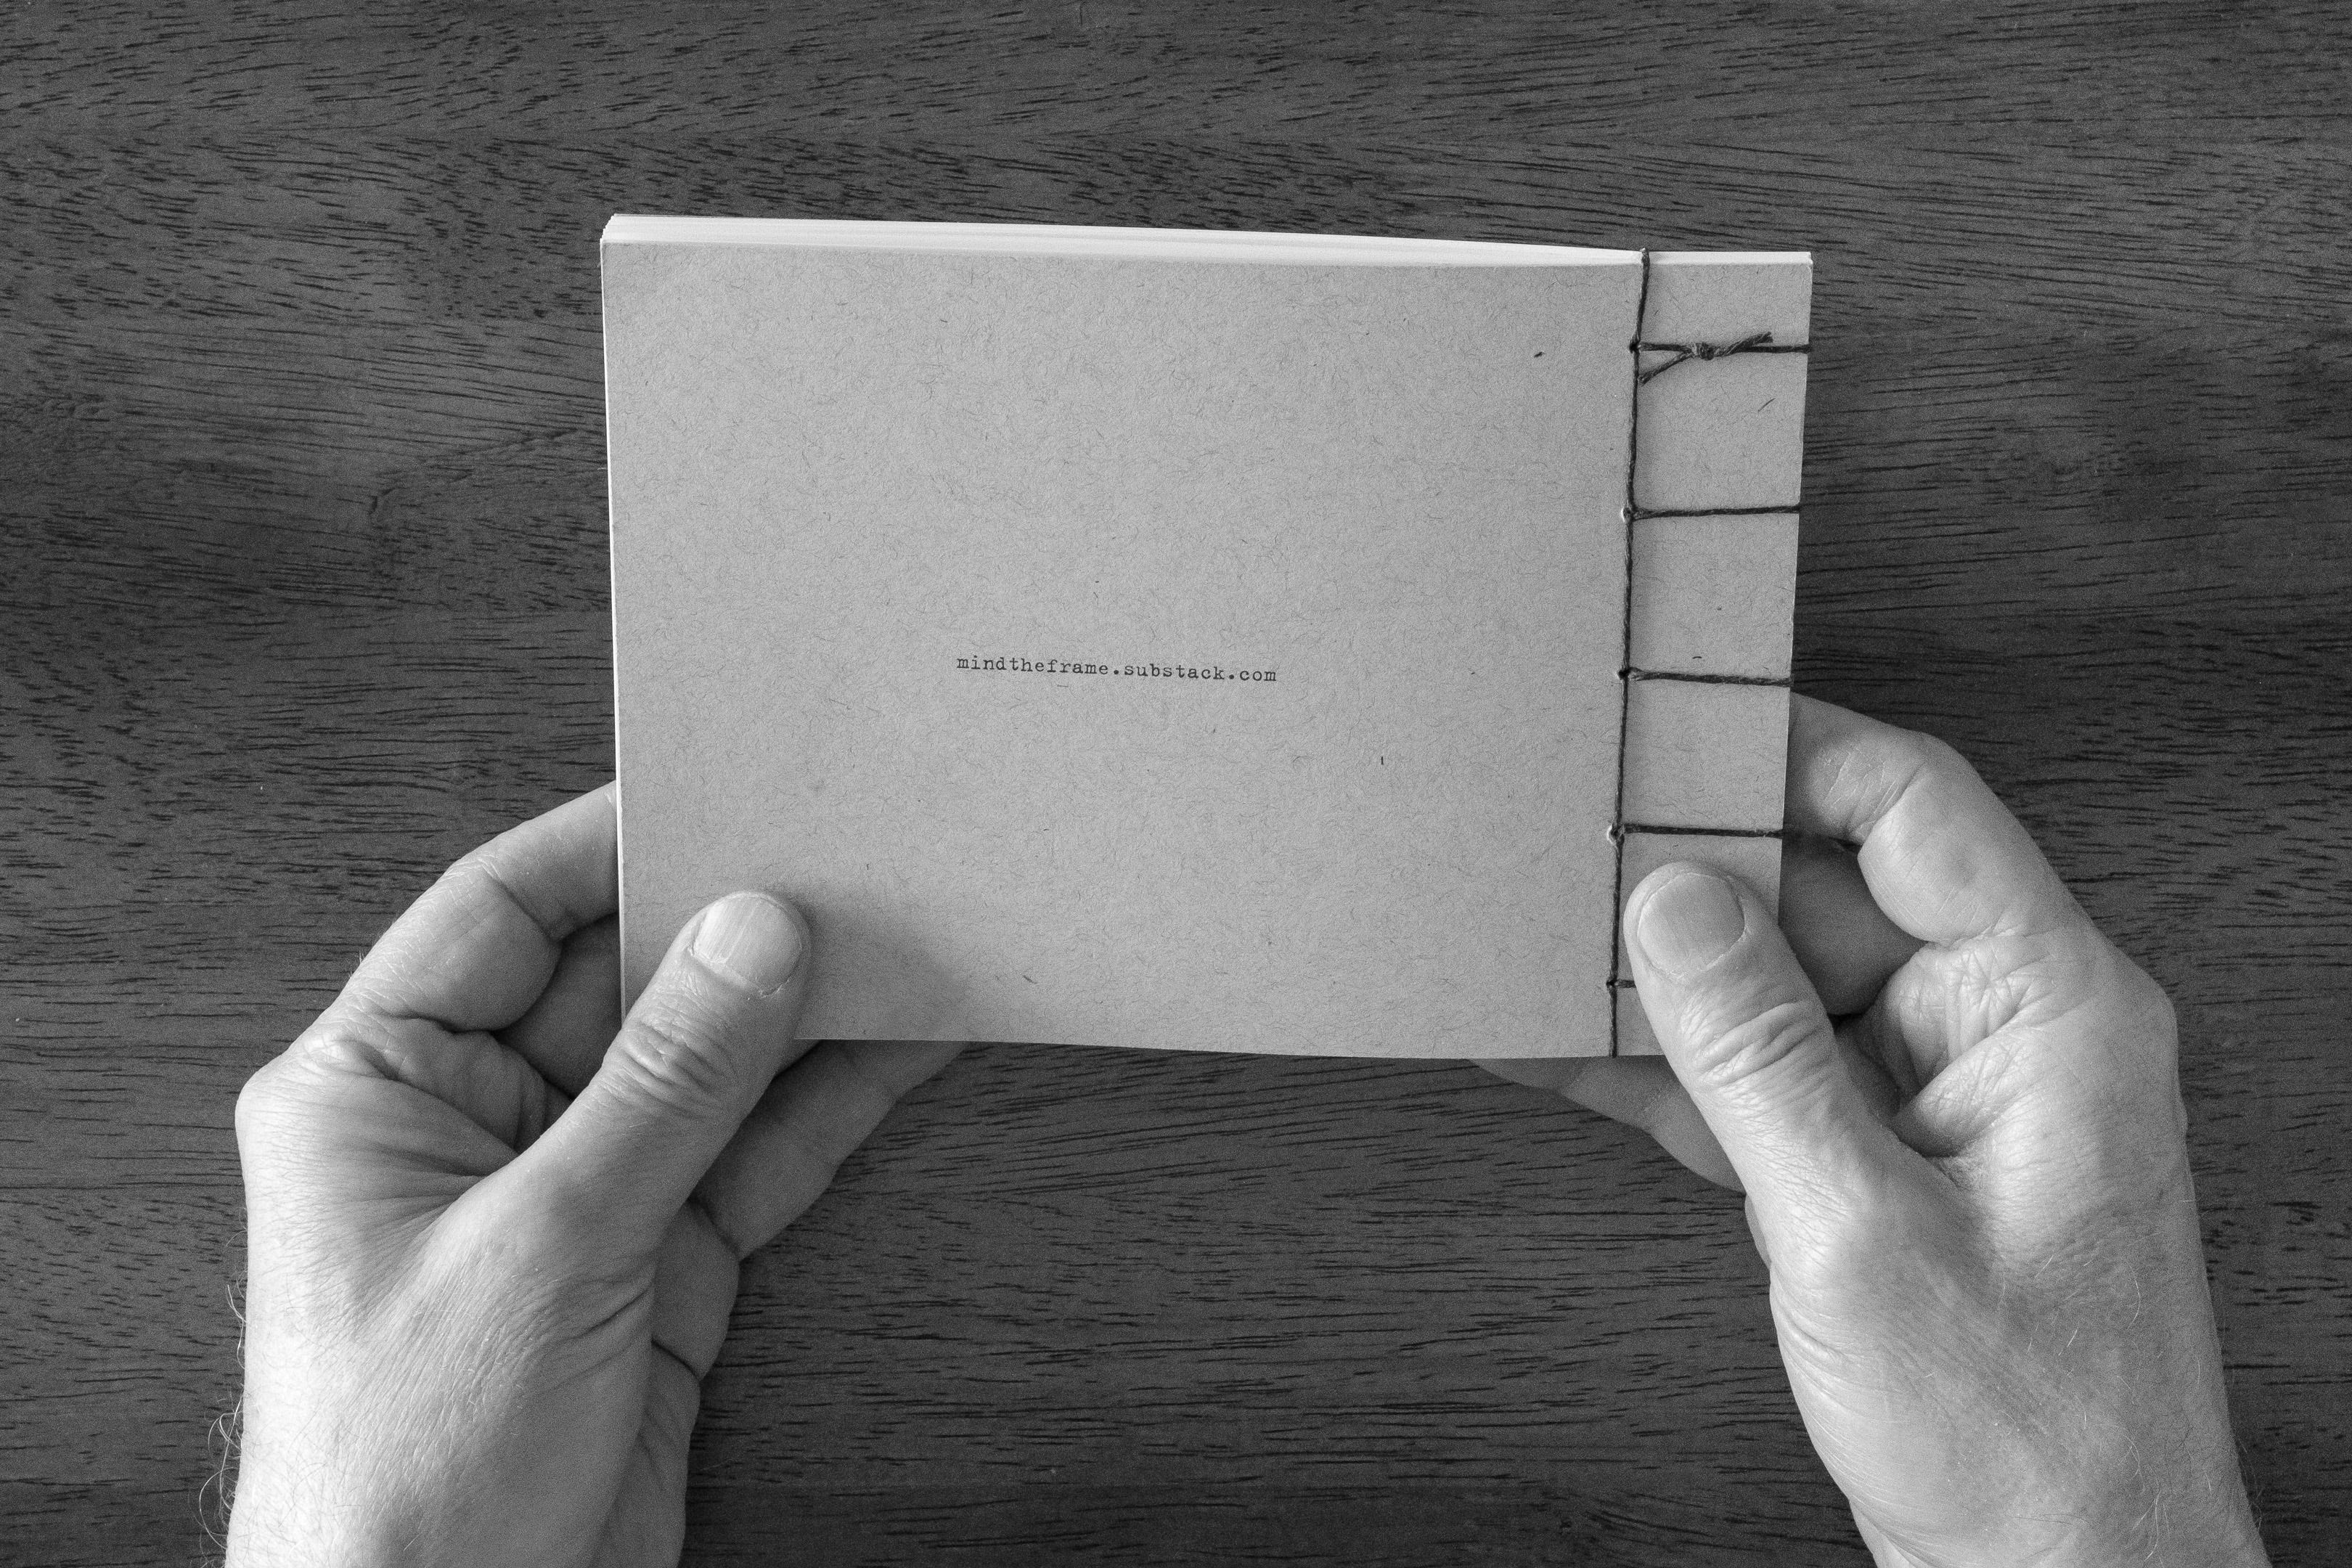
I was also more methodical about my stab binding technique on this new zine, and designed it to have 5 holes that would result in a stitch pattern of approximately 1x1 inch square. I think it came out fairly well, other than my thread wasn’t quite long enough, so I had to tie two pieces together, which can be seen on the back side.
For my first zine I simply used an awl tool to poke holes through each sheet of paper. I needed larger holes for the thread I used on this new zine, so I chose to use a “screw hole punch” to make them.
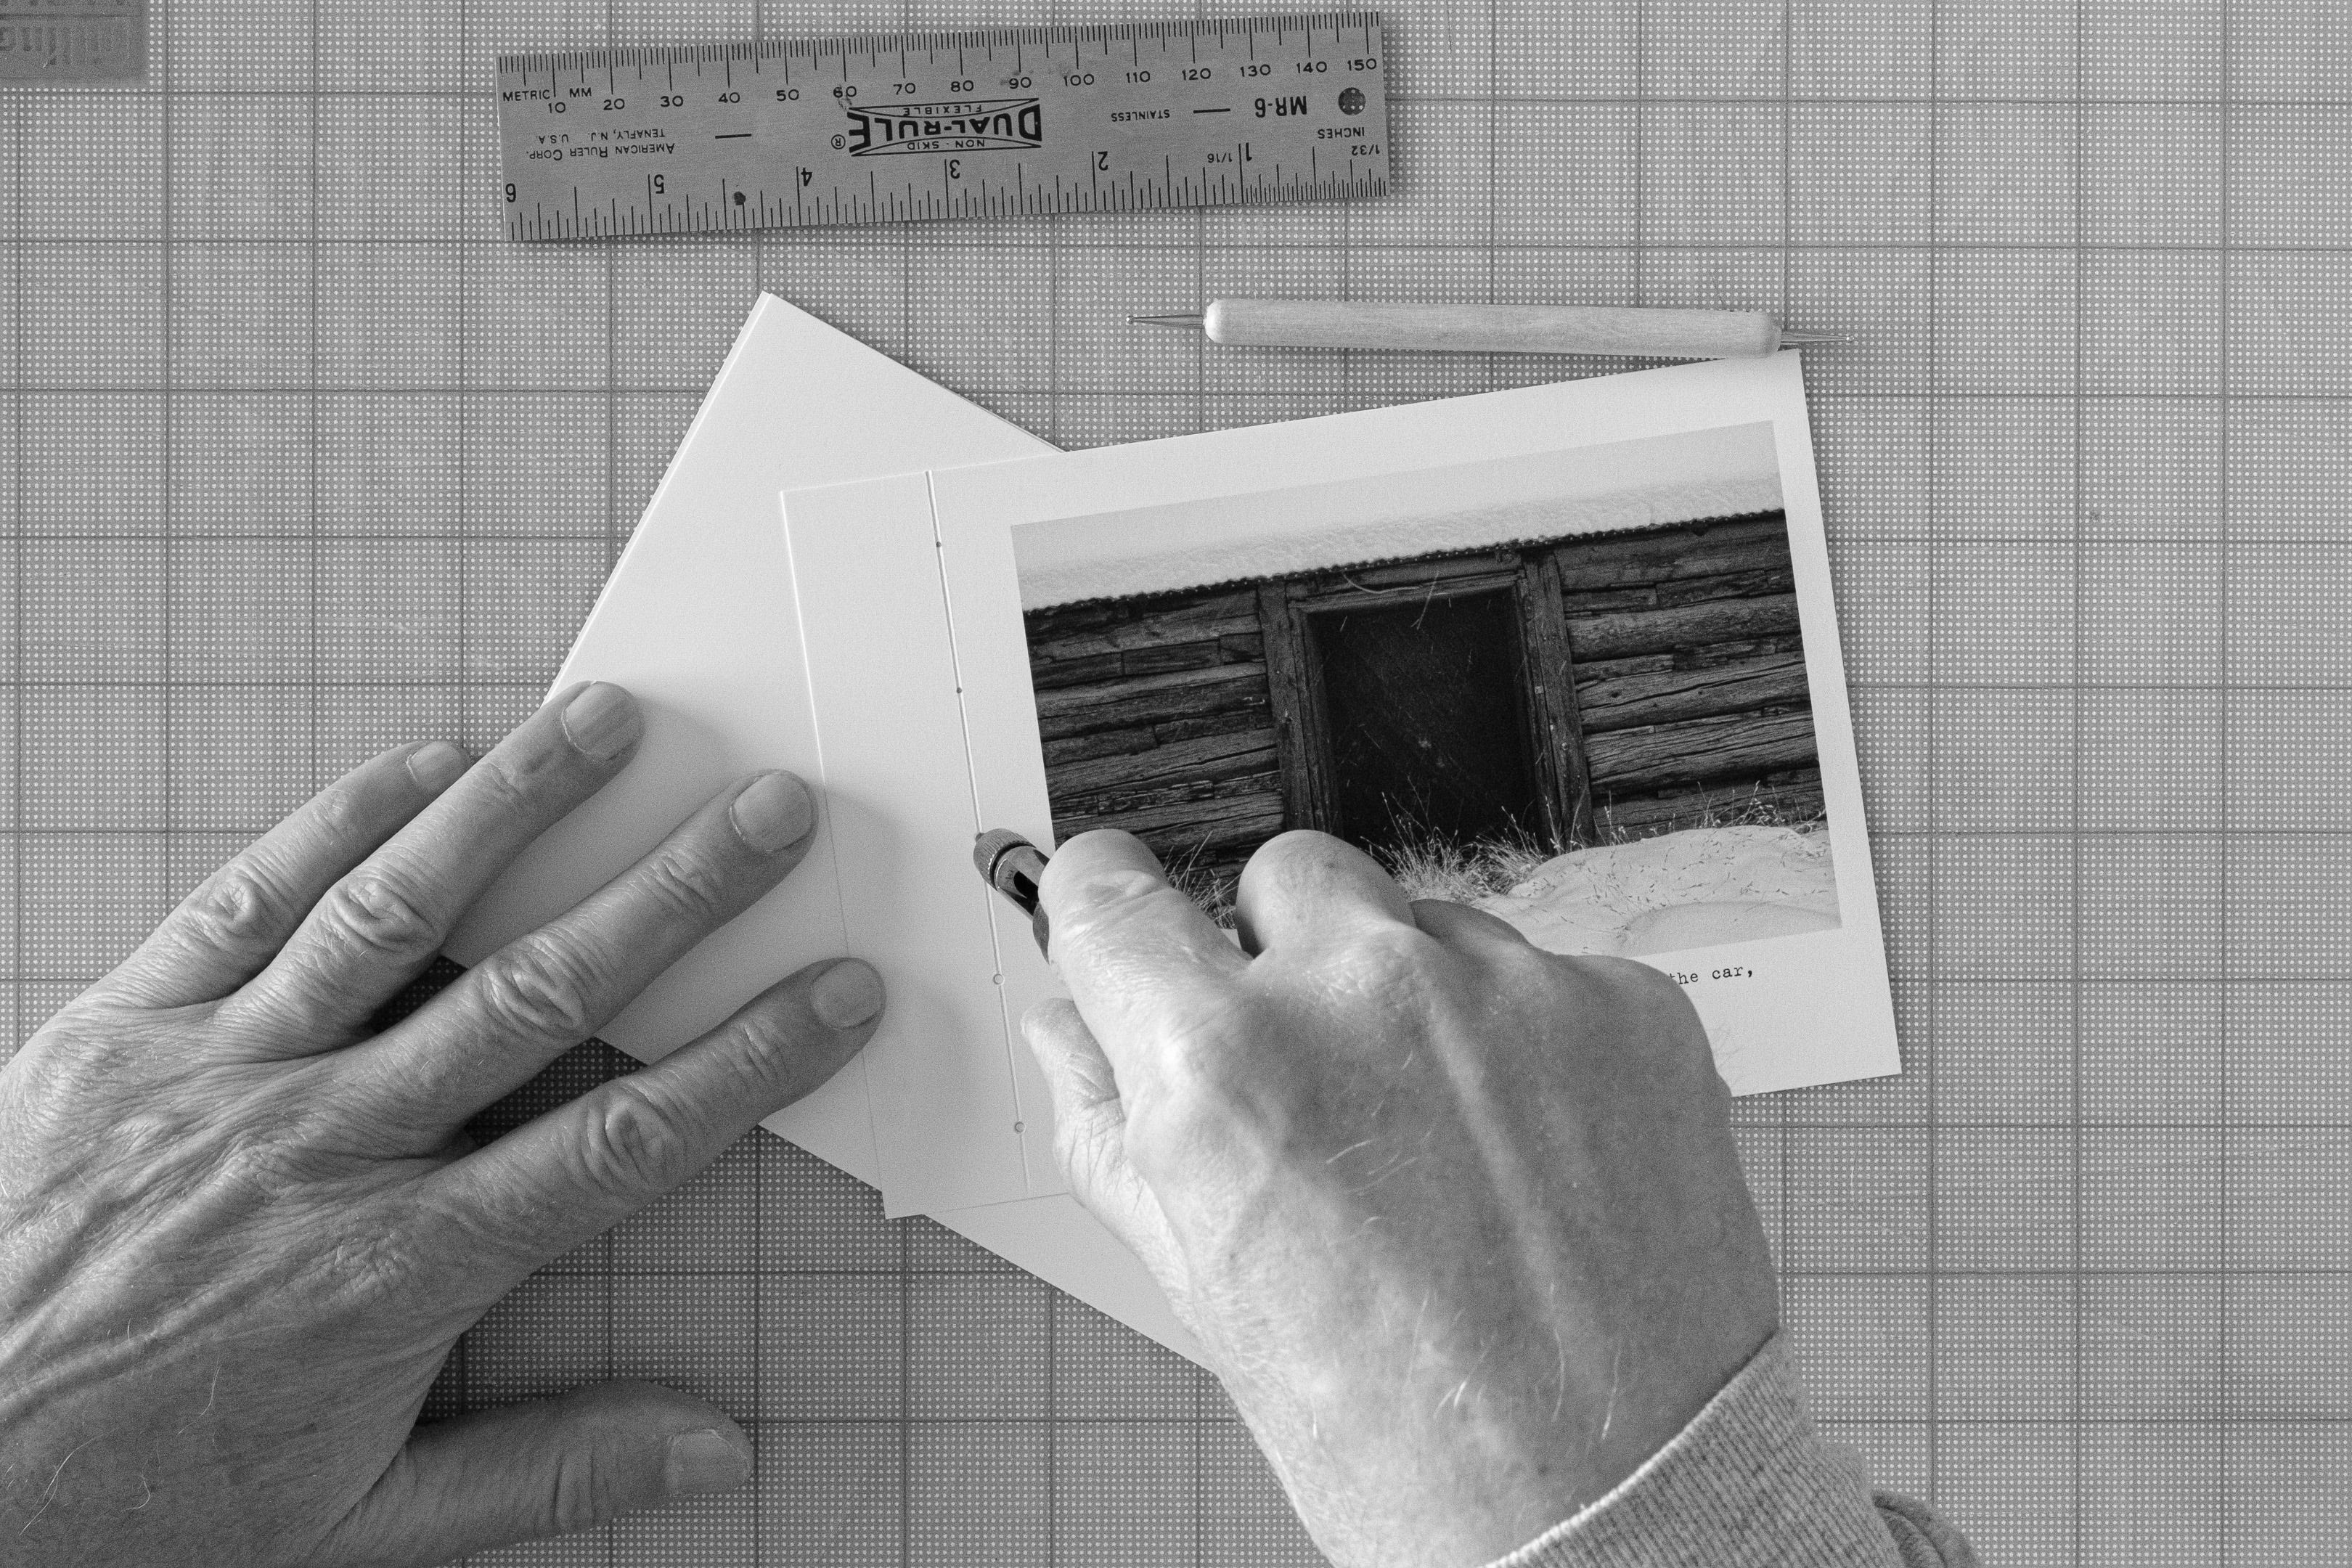
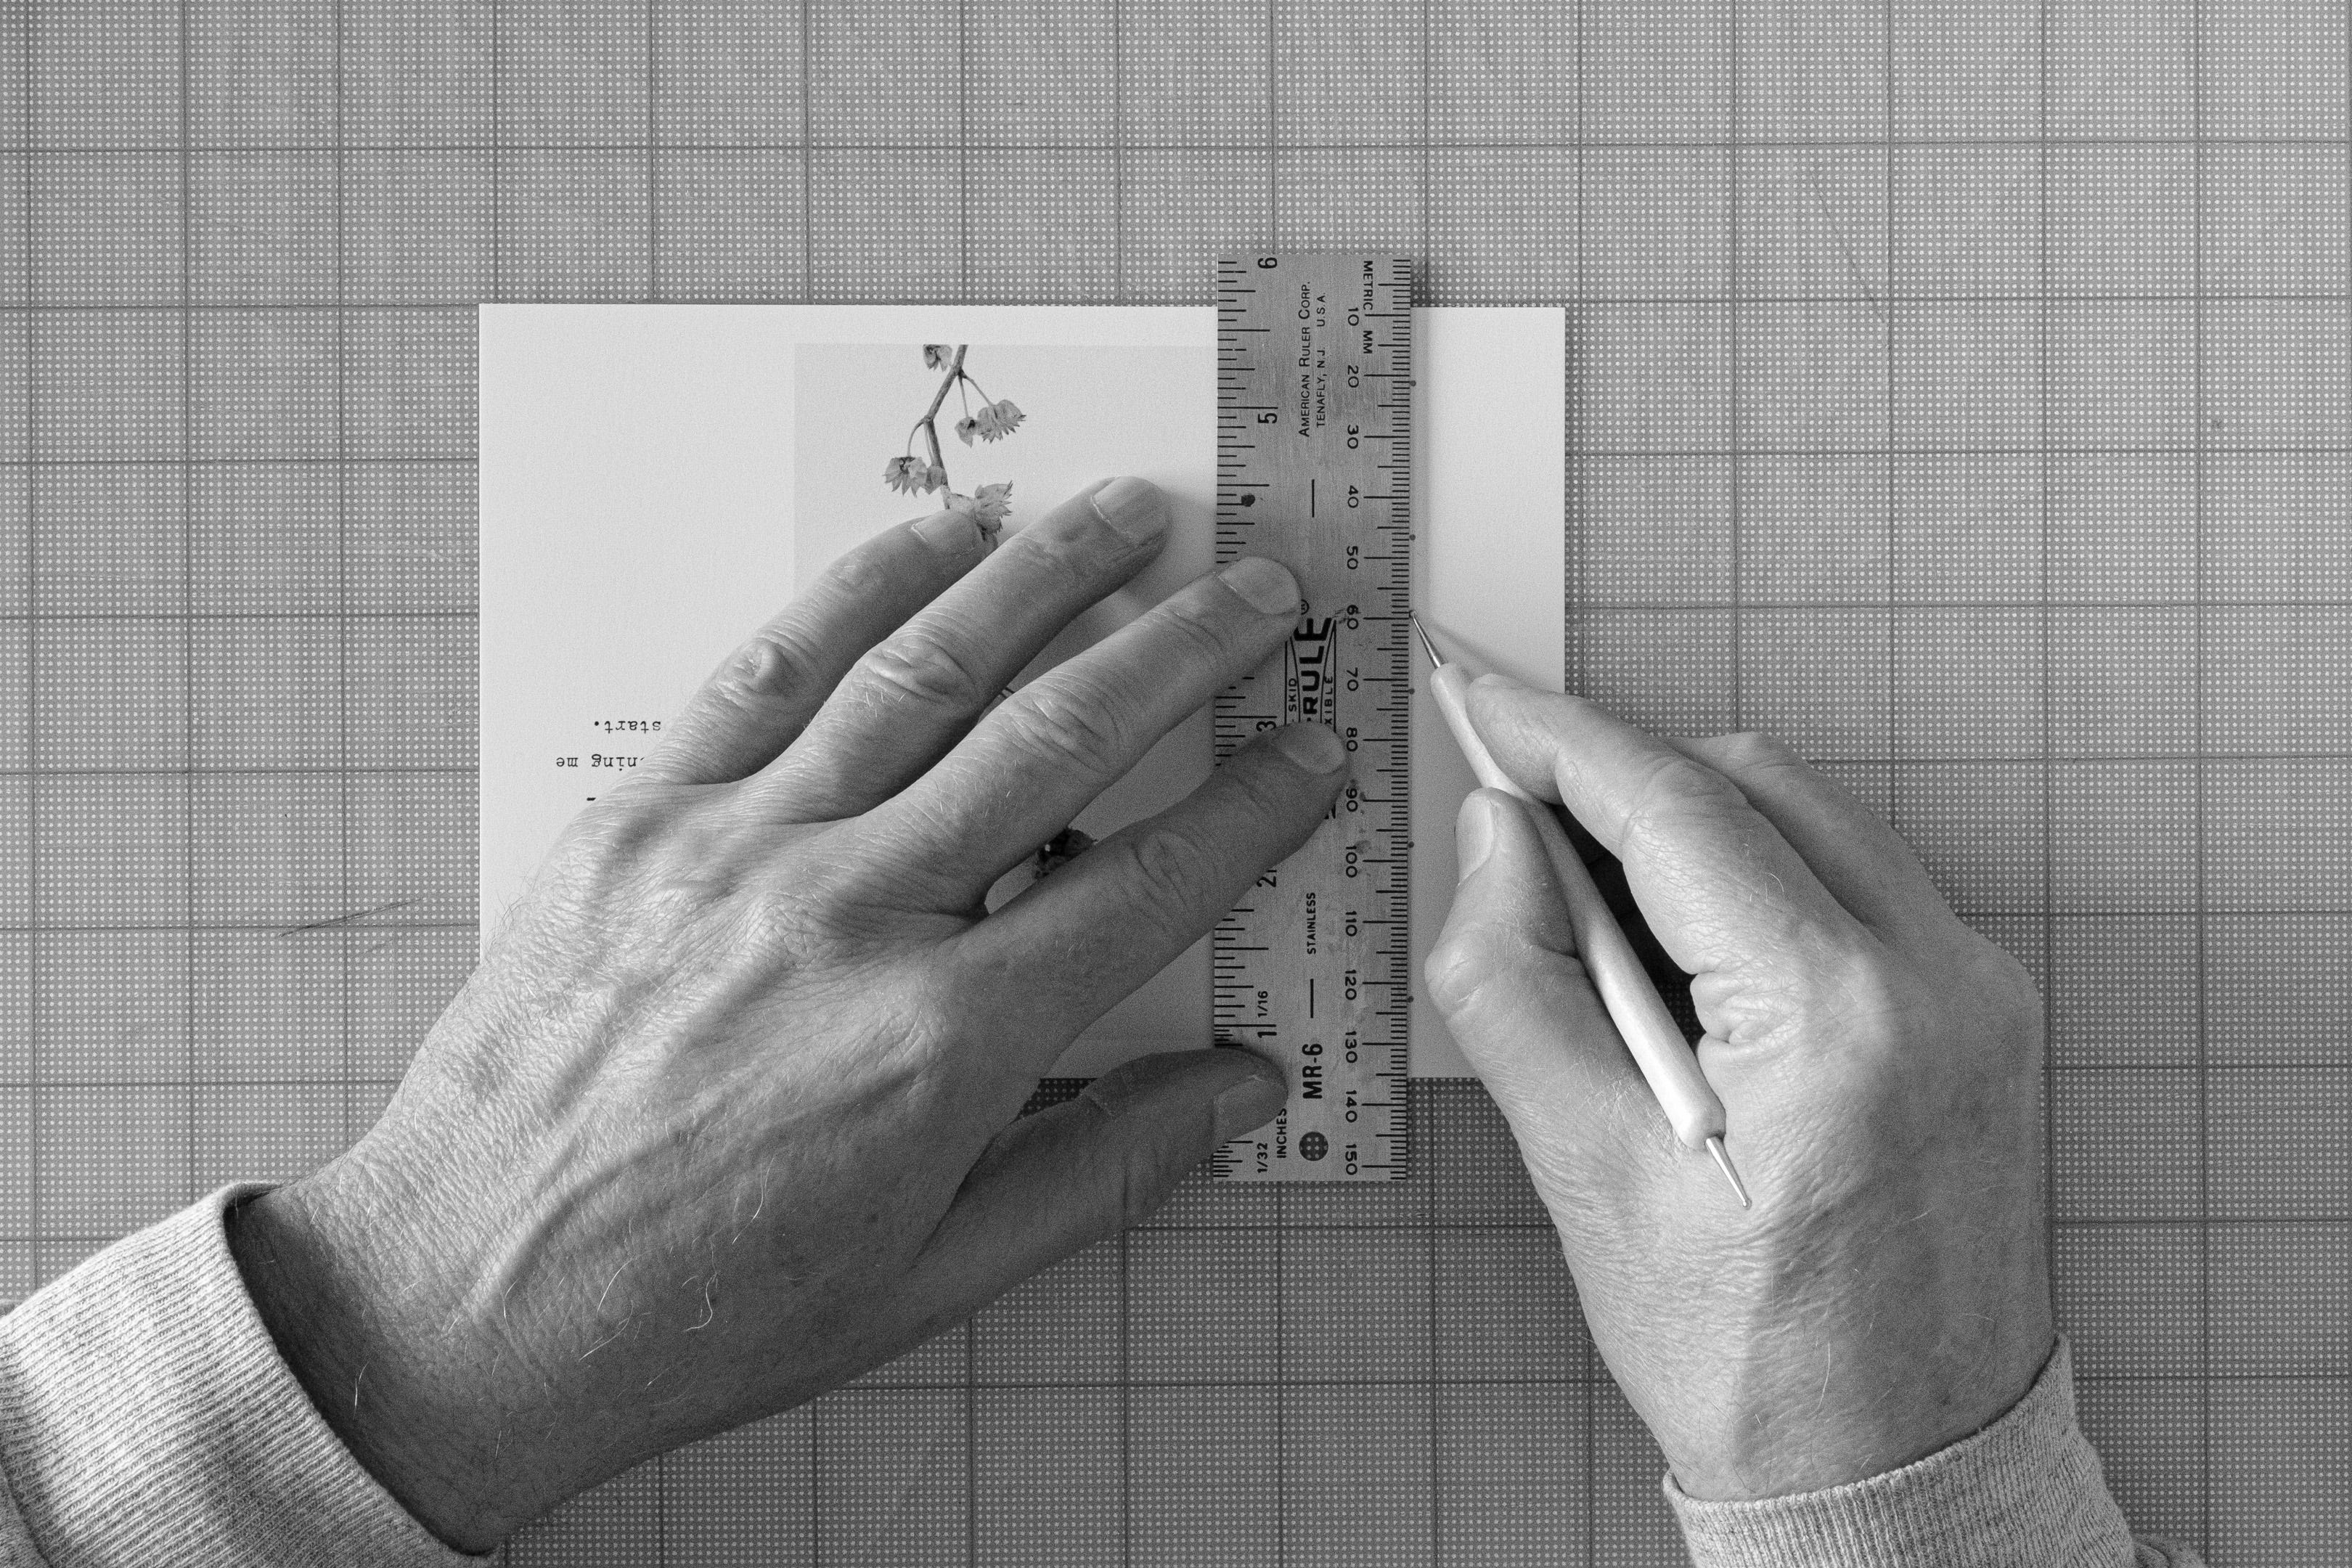
For each printed page of the zine, I first scored the fold line, then made the five holes along the line, and finally pre-folded each page before binding them together. I used a template to ensure the holes were exactly registered between each page.
Overall, I am quite happy with how this little zine turned out. I’m still learning, and am glad that I made the design changes that I did. The main thing I wish I had done differently was to use a larger bit for making the holes, because they were a little too small for the needle and thread that I used.
Similar to my first zine, I still love the intimate feel of its small size. There is something about holding a precious object in my hands that deepens my connection to both the images and the words on the page, as compared to viewing them on the screen.
Looking back, I had a lot of fun working on this project. It’s always rewarding coming up with solutions to design challenges while learning new skills along the way. I now feel more confident in my technique, which means I’ll be more inclined to make handmade zines in the future. Thanks again to Susanne Helmert for the great tip about using the scoring tool!
Working on this project was also a reminder of the wonderfully supportive and collaborative spirit of this Substack community. I know a lot of you have made your own zines, and I’d love to hear more about any lessons you’ve learned along the way.
As a way of saying thank you for being here and supporting me on my photographic journey, I’m offering a free PDF download of this zine. I hope you enjoy it!
I’m truly grateful you’re here and for any feedback you’d like to share in the comments.
This looks beautiful Todd - I'm so pleased you decided to make that zine, it was certainly worth it. And thank you for explaining how you made this so clearly - it's always good to see someone's process and Susanne is so helpful too with her tips too. I just love how this wonderful community supports each other in so many ways. I've just downloaded a copy of the zine and will have a read a little later. Wonderful work!😊
So beautiful, Todd! Congratulations on another lovely zine! I'm glad you did this one. The images are just so stunning and perfect for a homemade zine. I truly am in awe of this kind of work. I will be taking a deeper dive into it soon. Yay!